RESOURCES
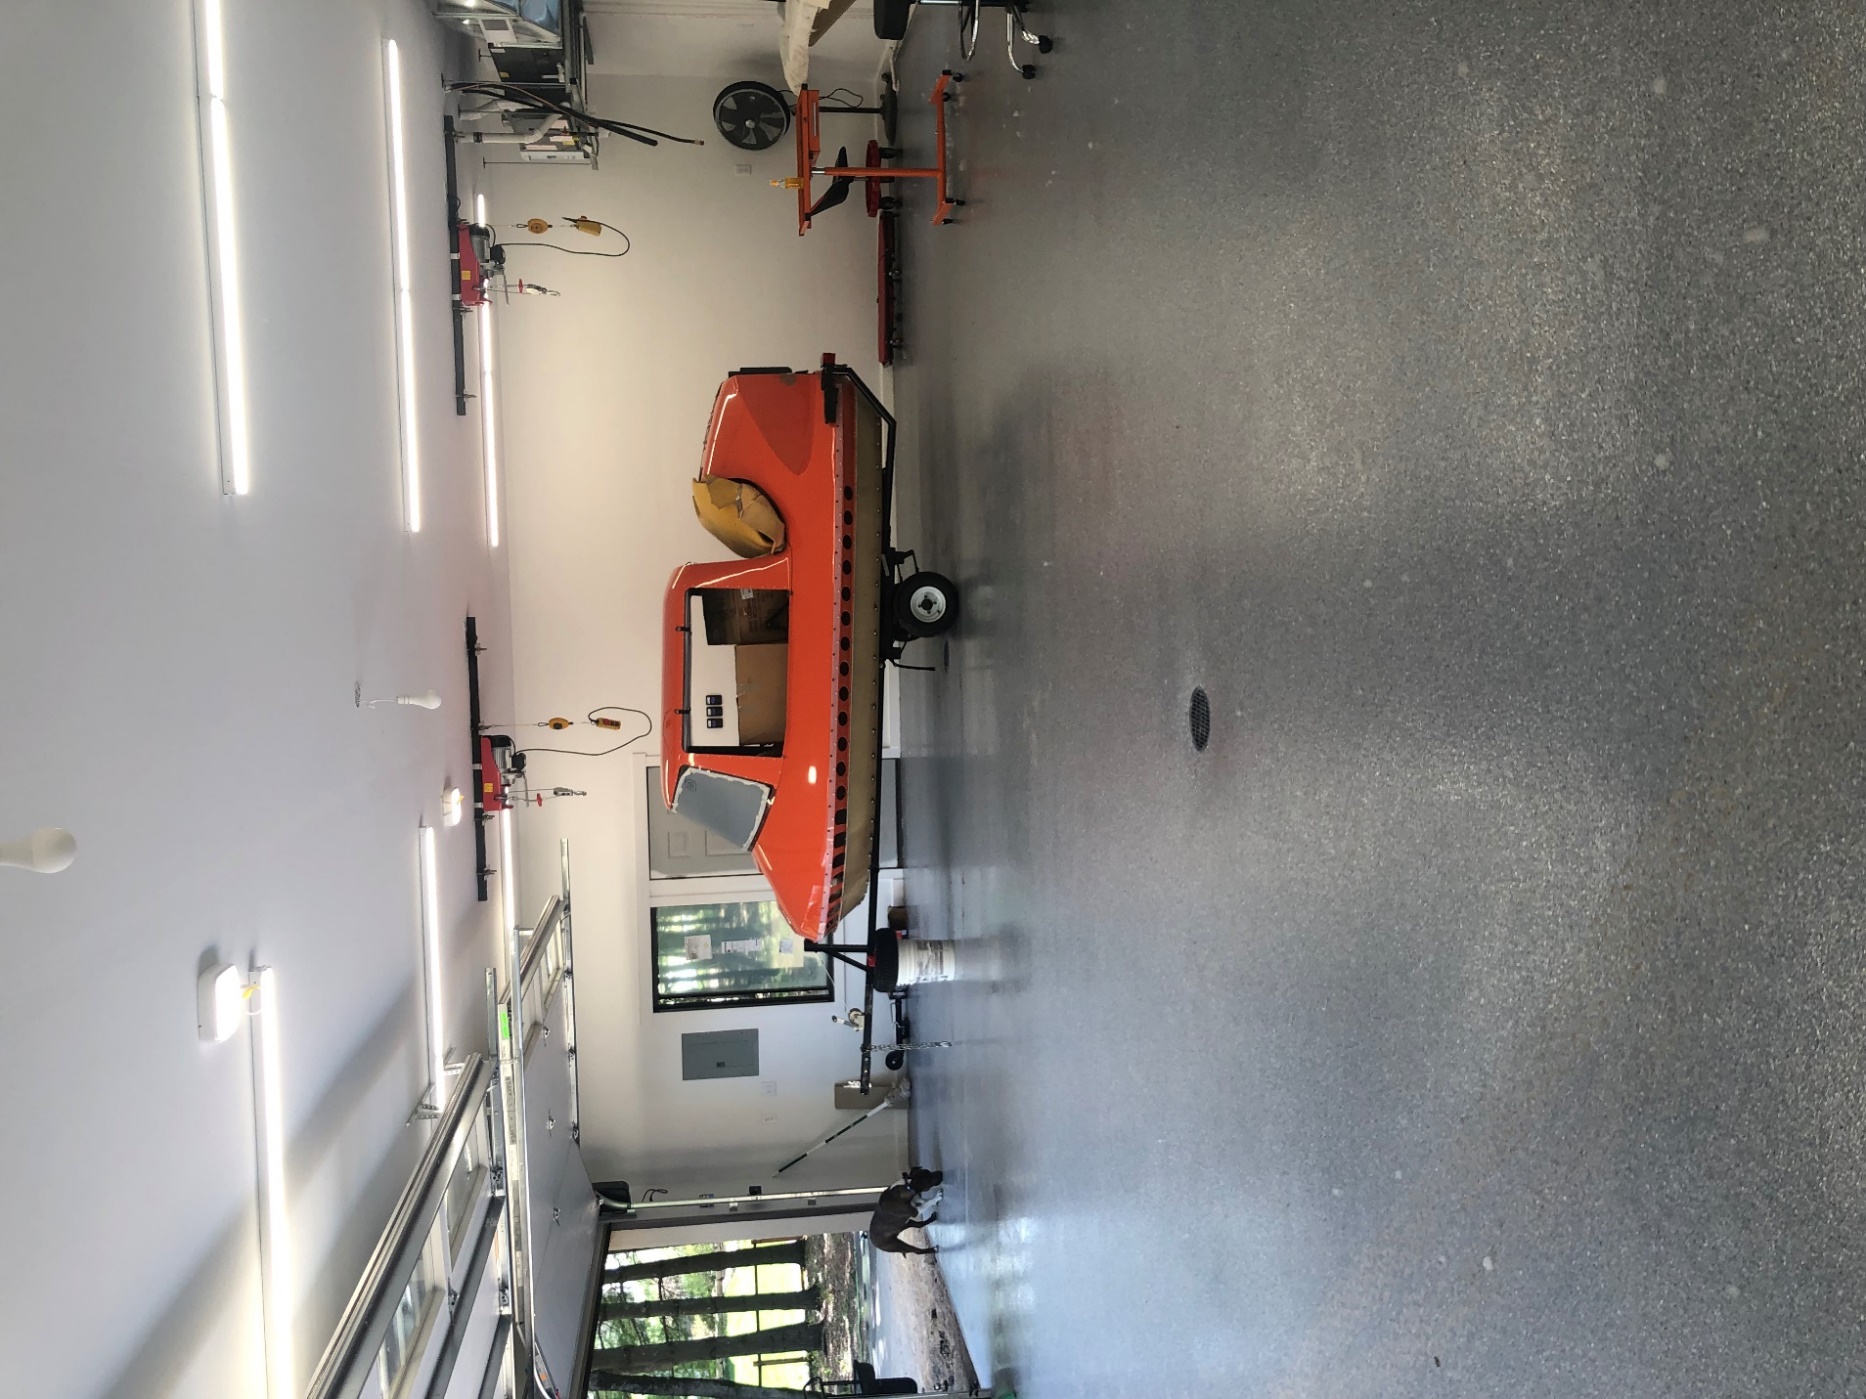
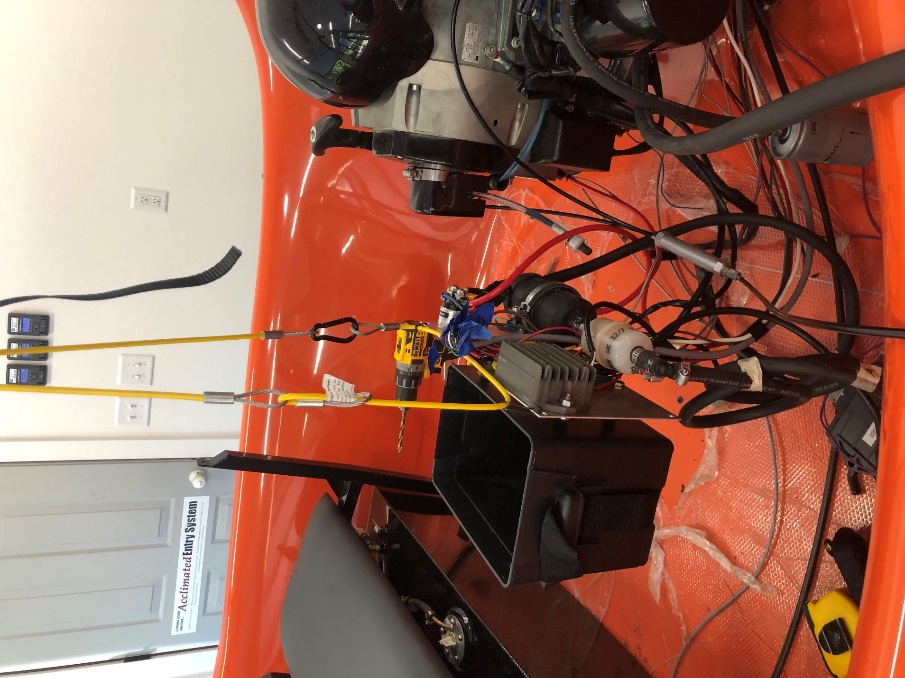
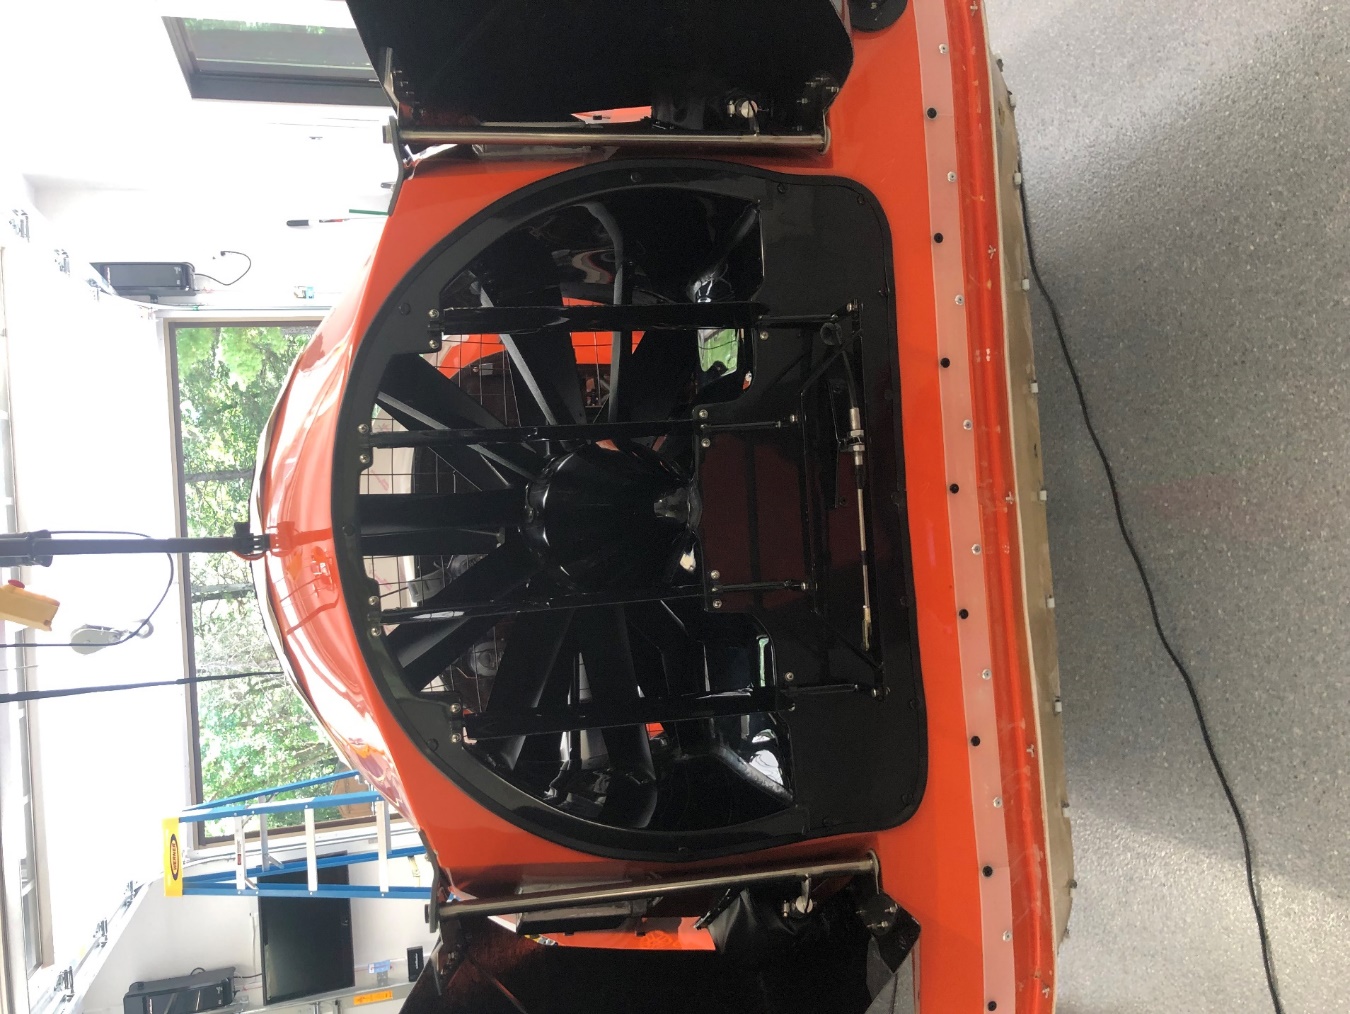
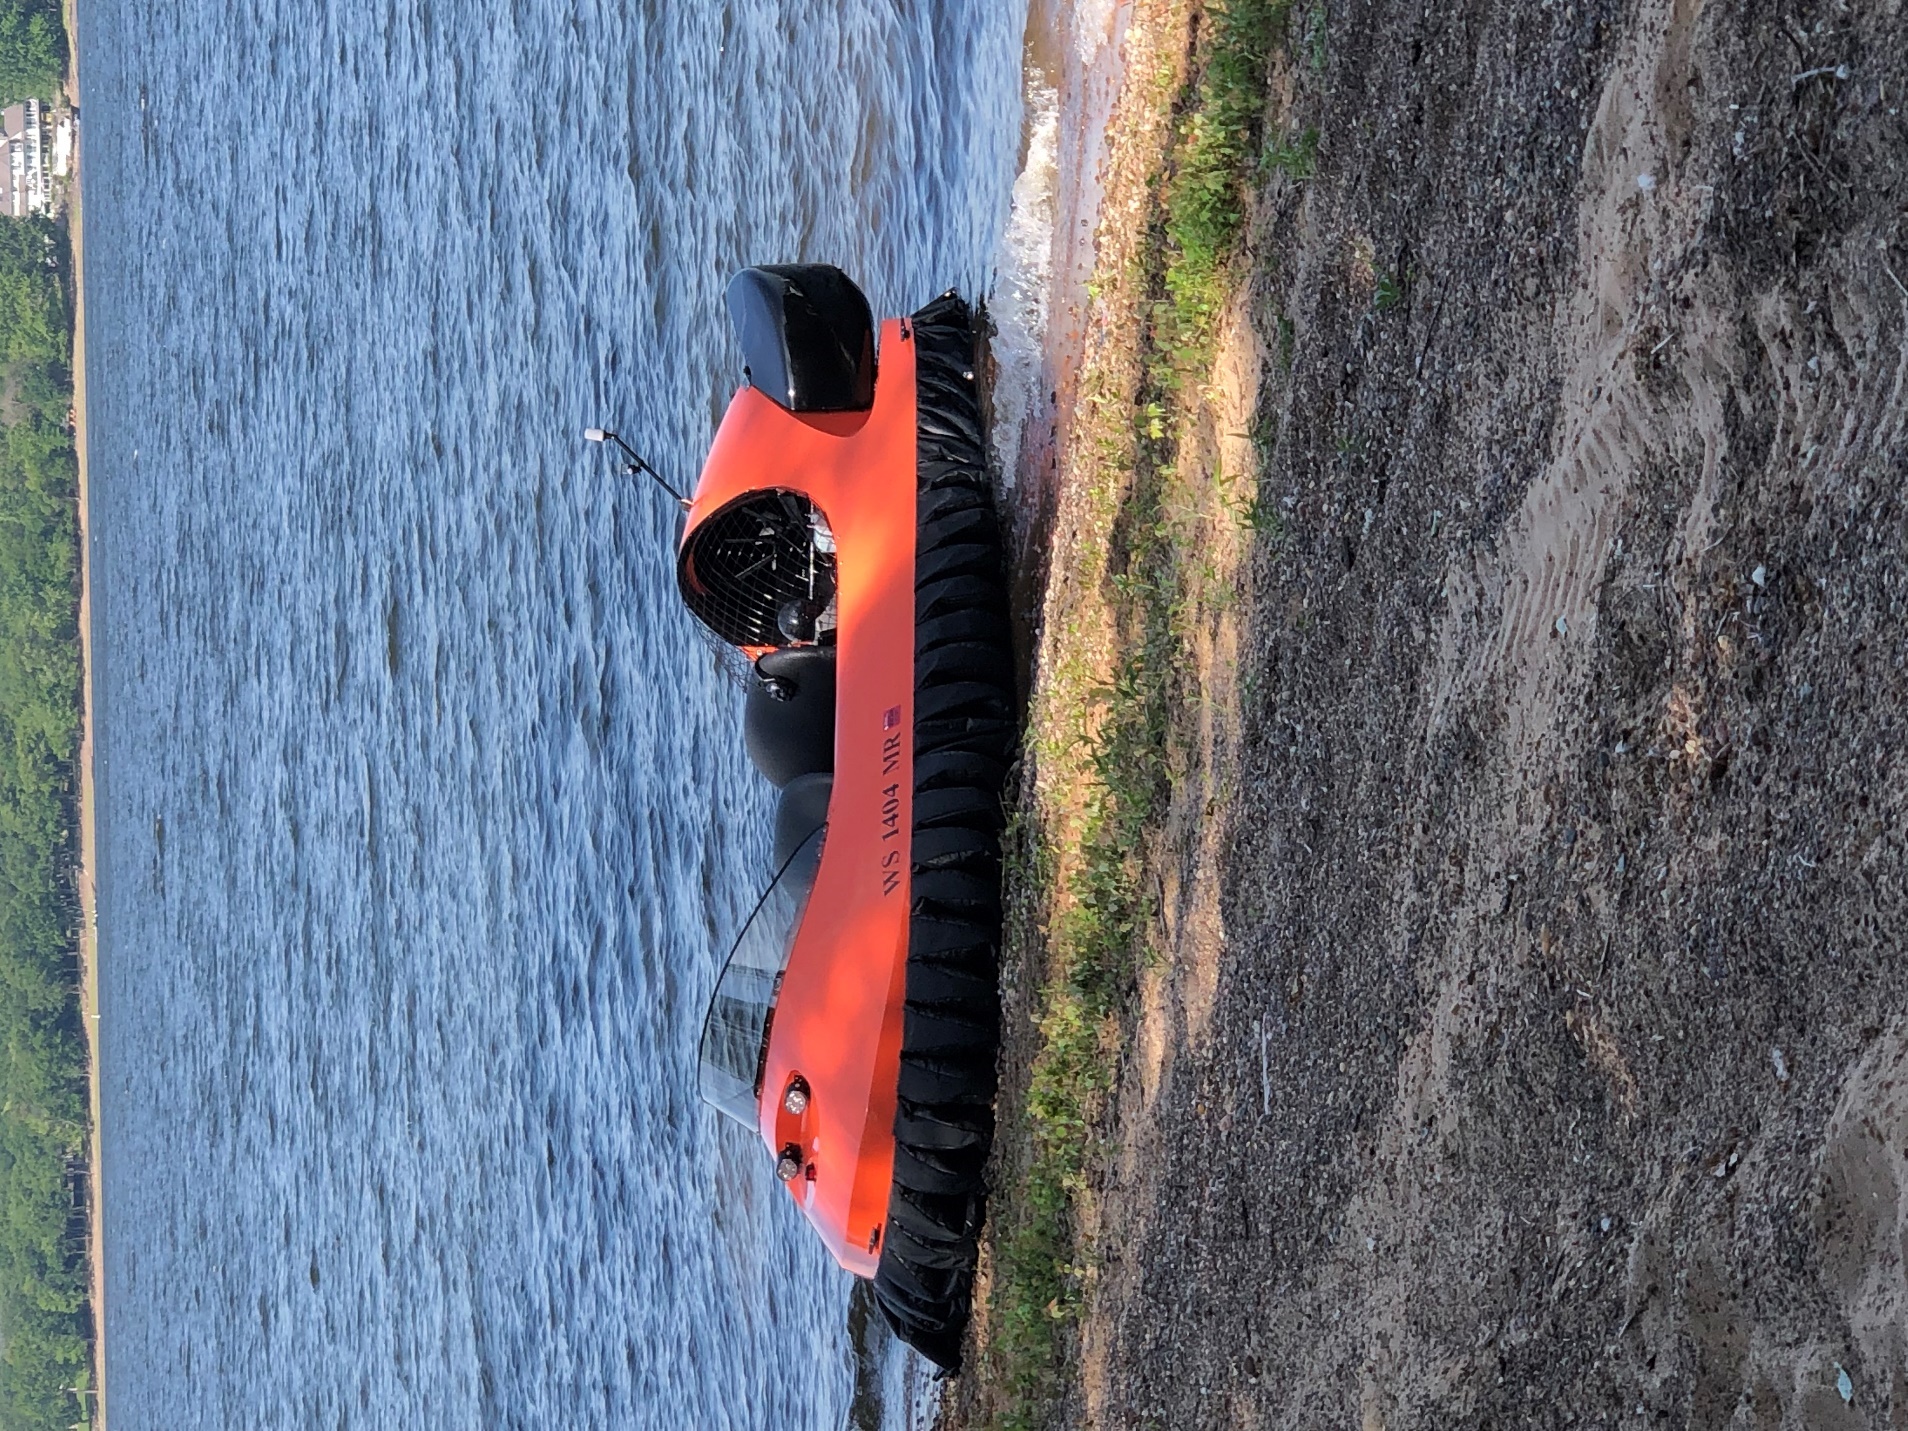
About HovercraftHighly recommend a hoist as you will be lifting and placing the engine in/out of place no less than 50 times.
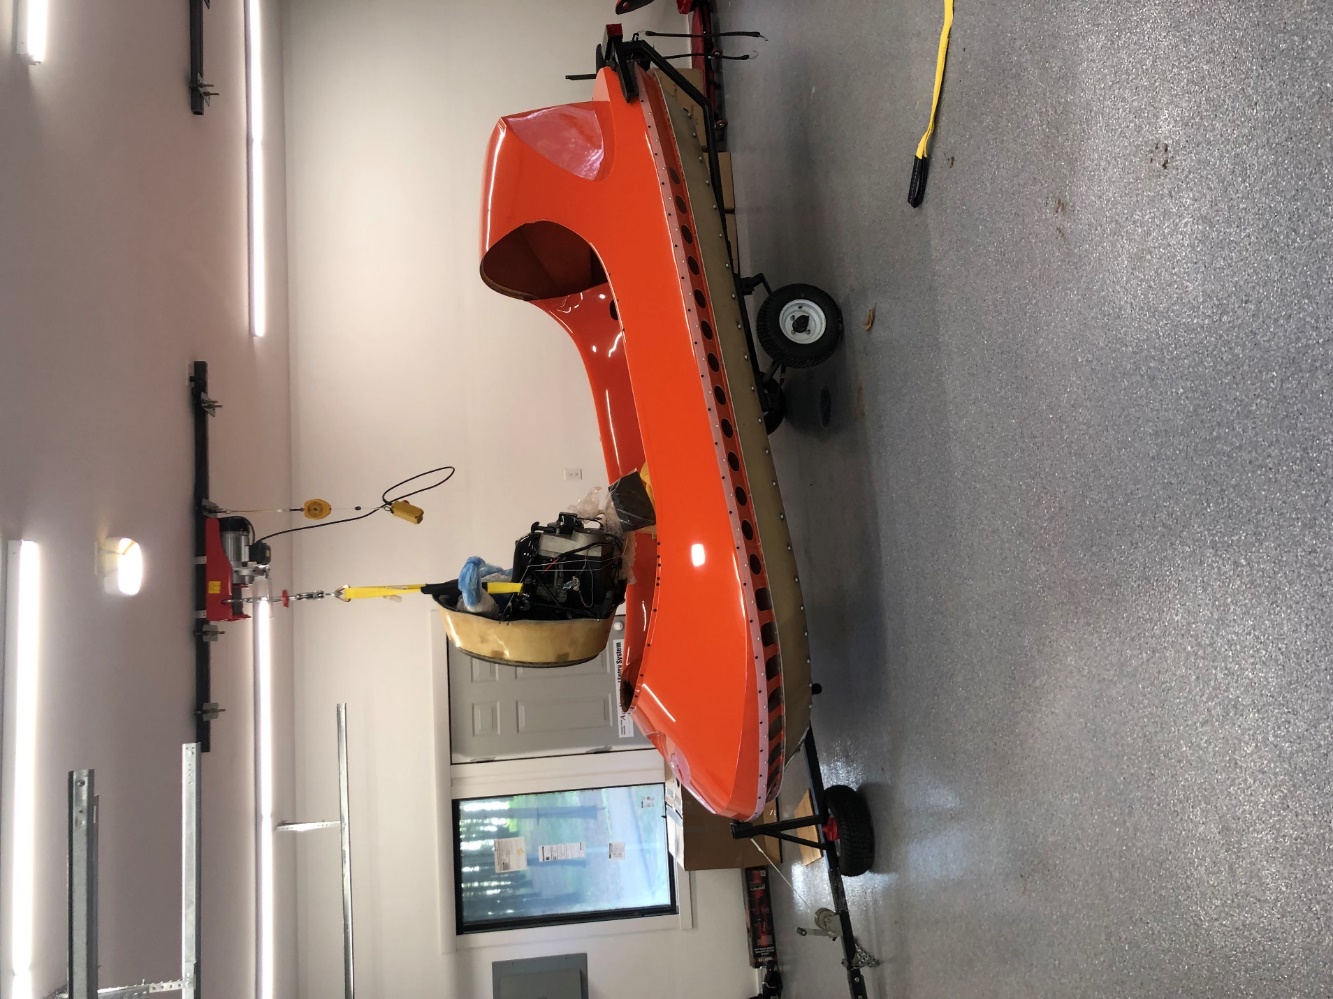
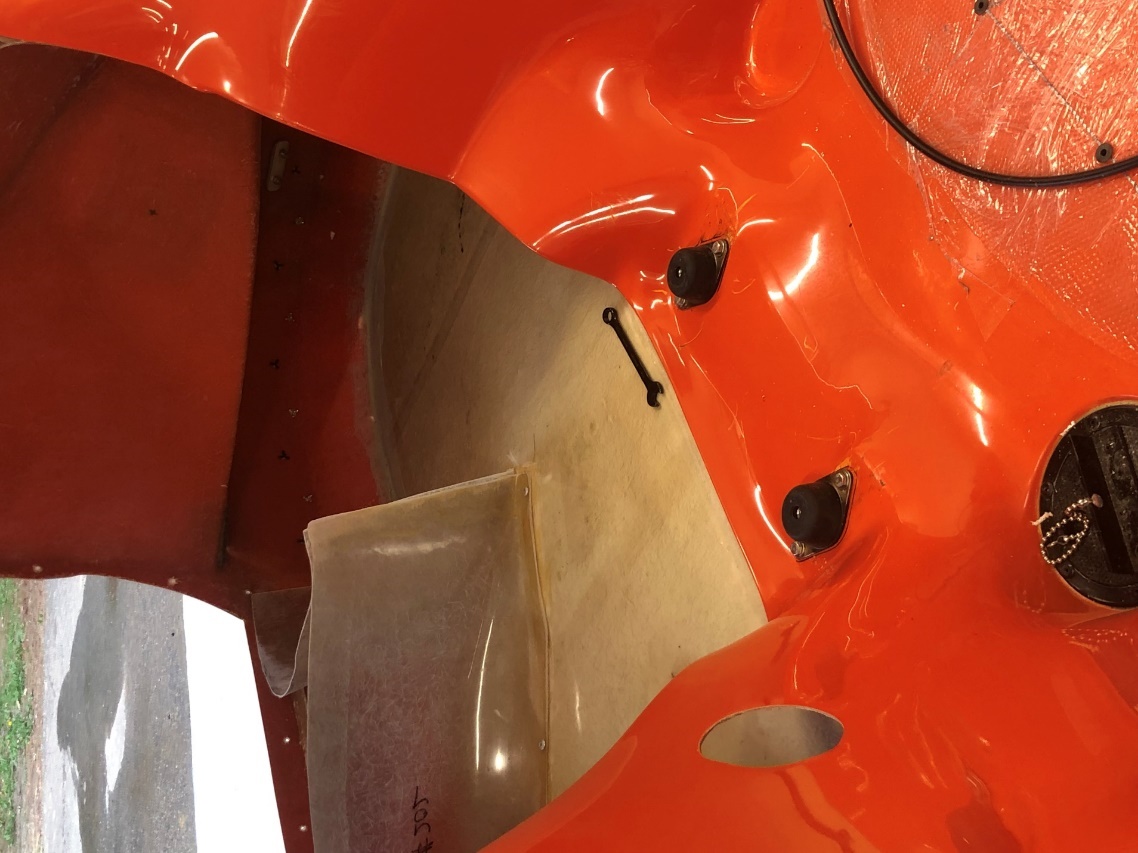
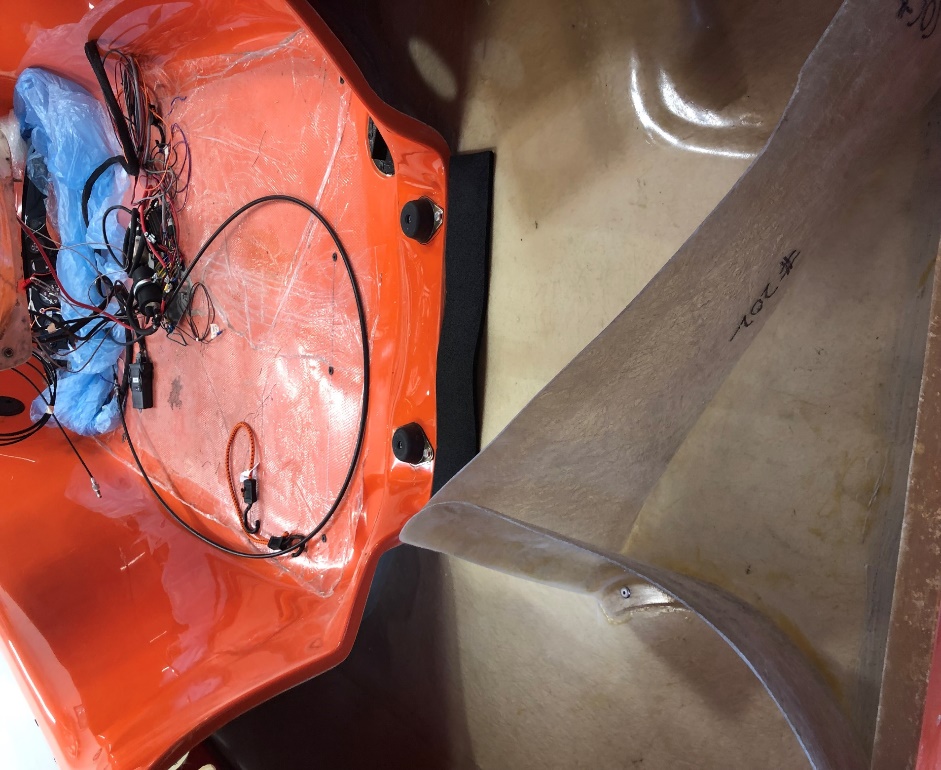
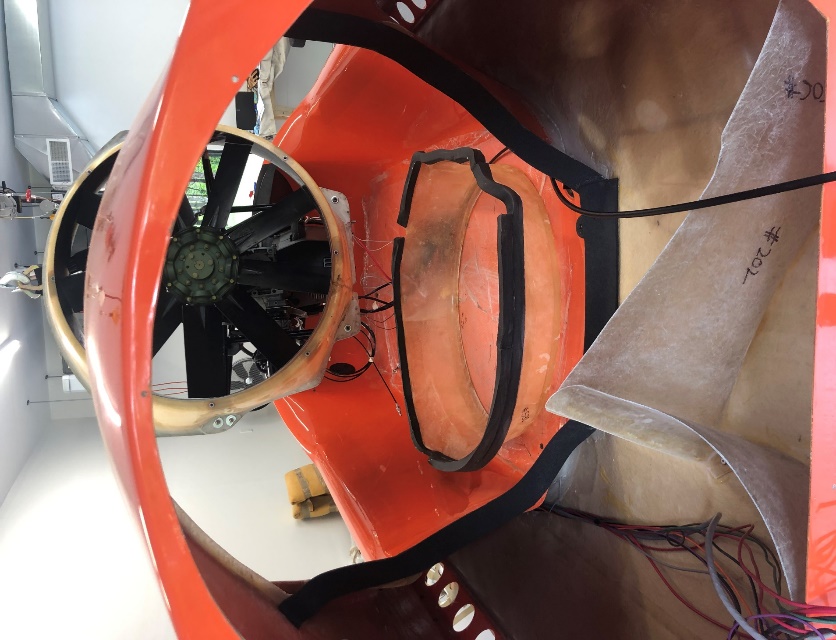
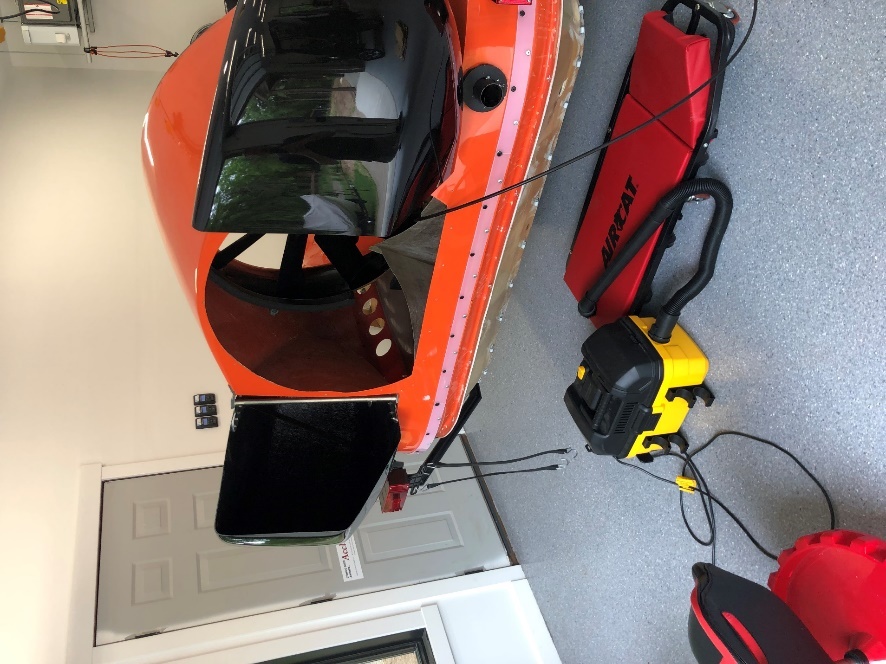
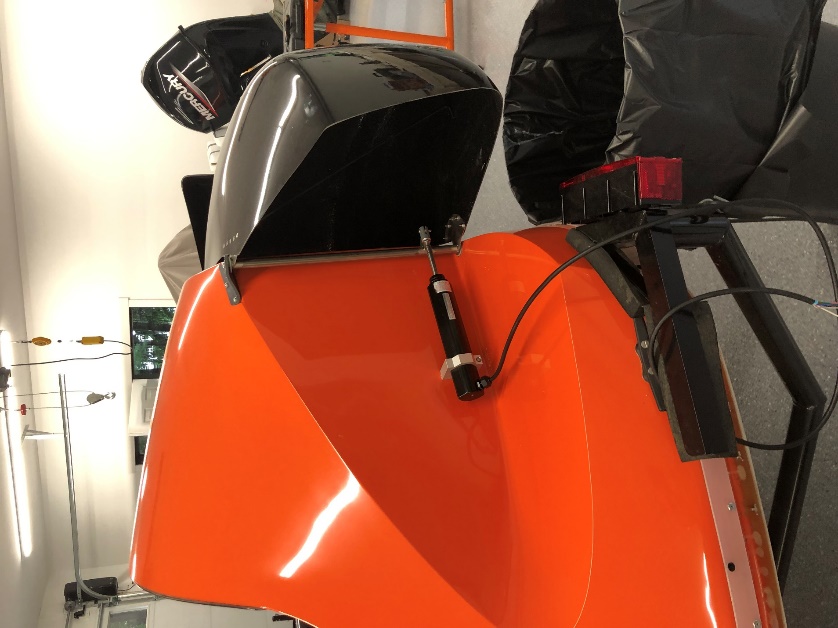
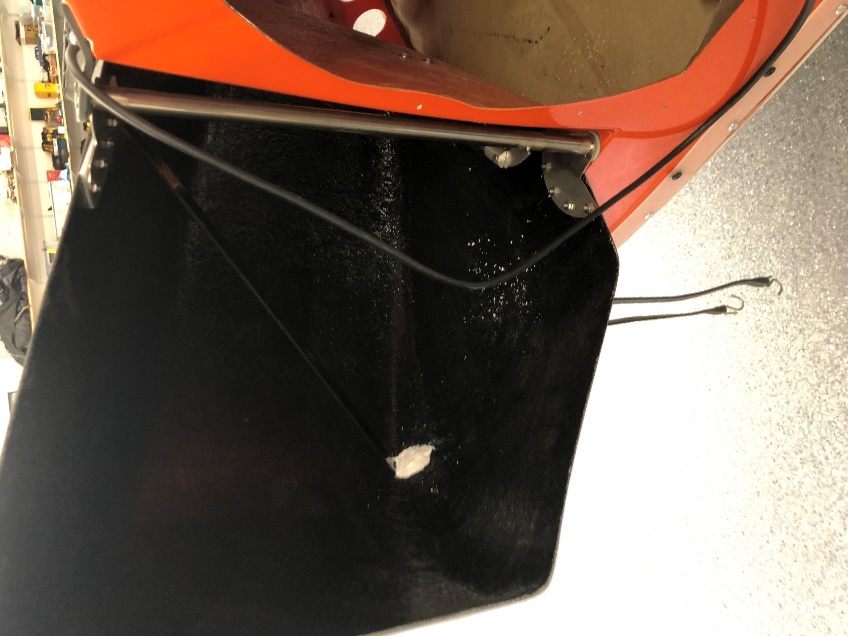
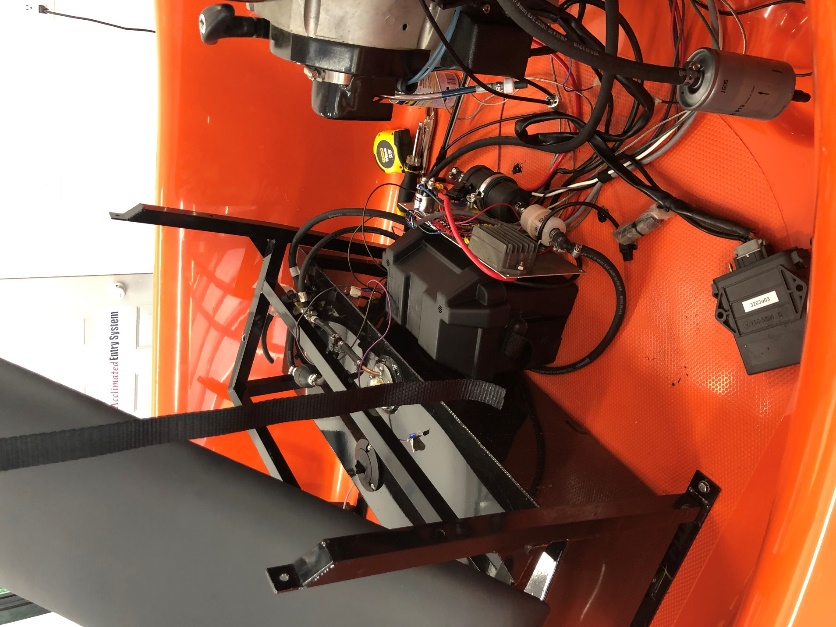
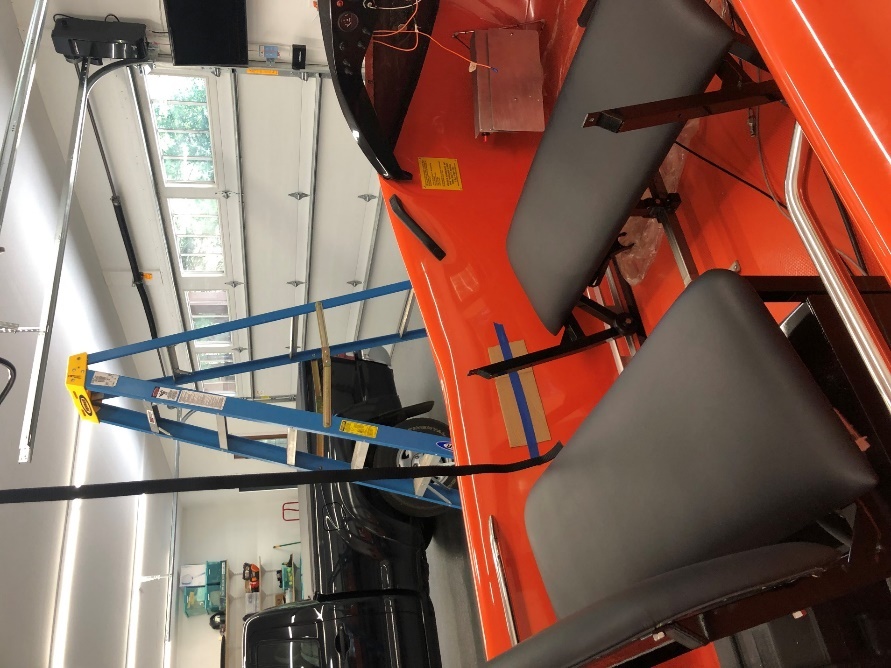
Above pic is an example of both my air splitter and my engine mount placement.
Note: I did not get the rear of the air splitter to properly attach to the back wall of the hull at the top of the splitter. I failed to really match the back prior to adhering to the floor. However, there does not seem to be a lasting problem caused as a result. Seems to work just fine.
Engine mounts worked out ok but the bolt holding the engine to the mounts could be longer. Seemed fine at first but once everything got put finally together, I could not even place a washer on the engine bolt or it was to short to thread into mounts.
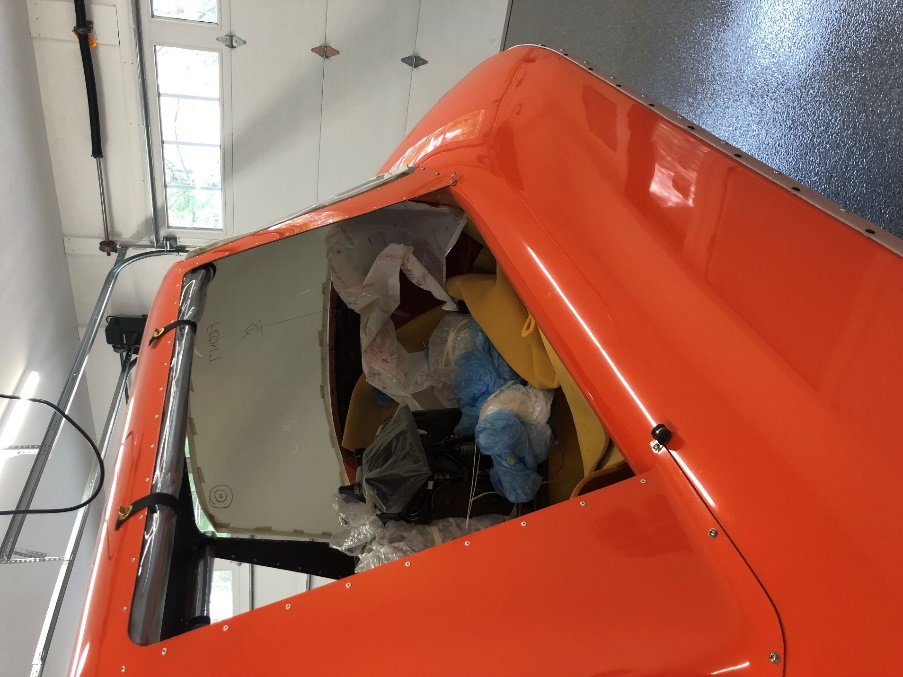
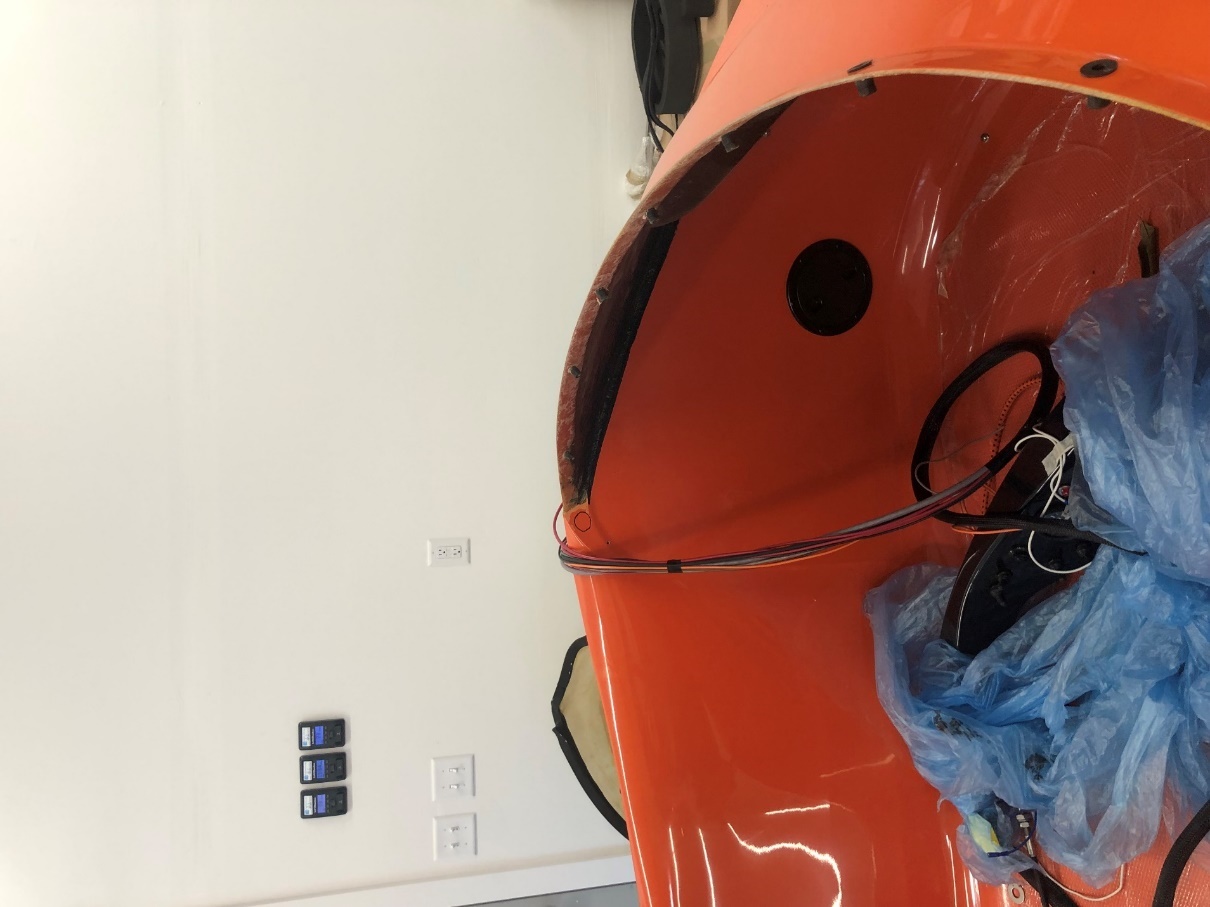
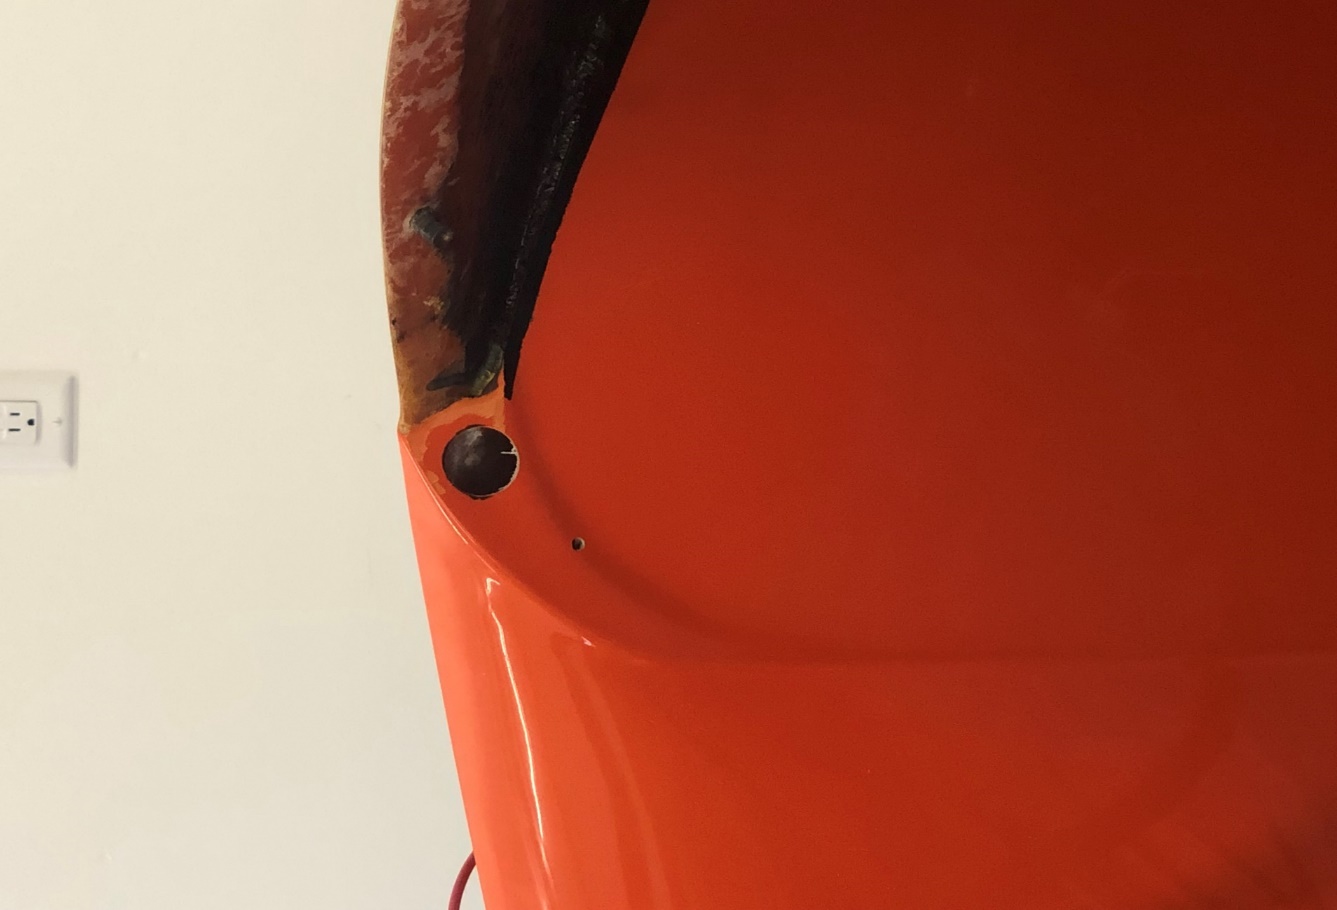
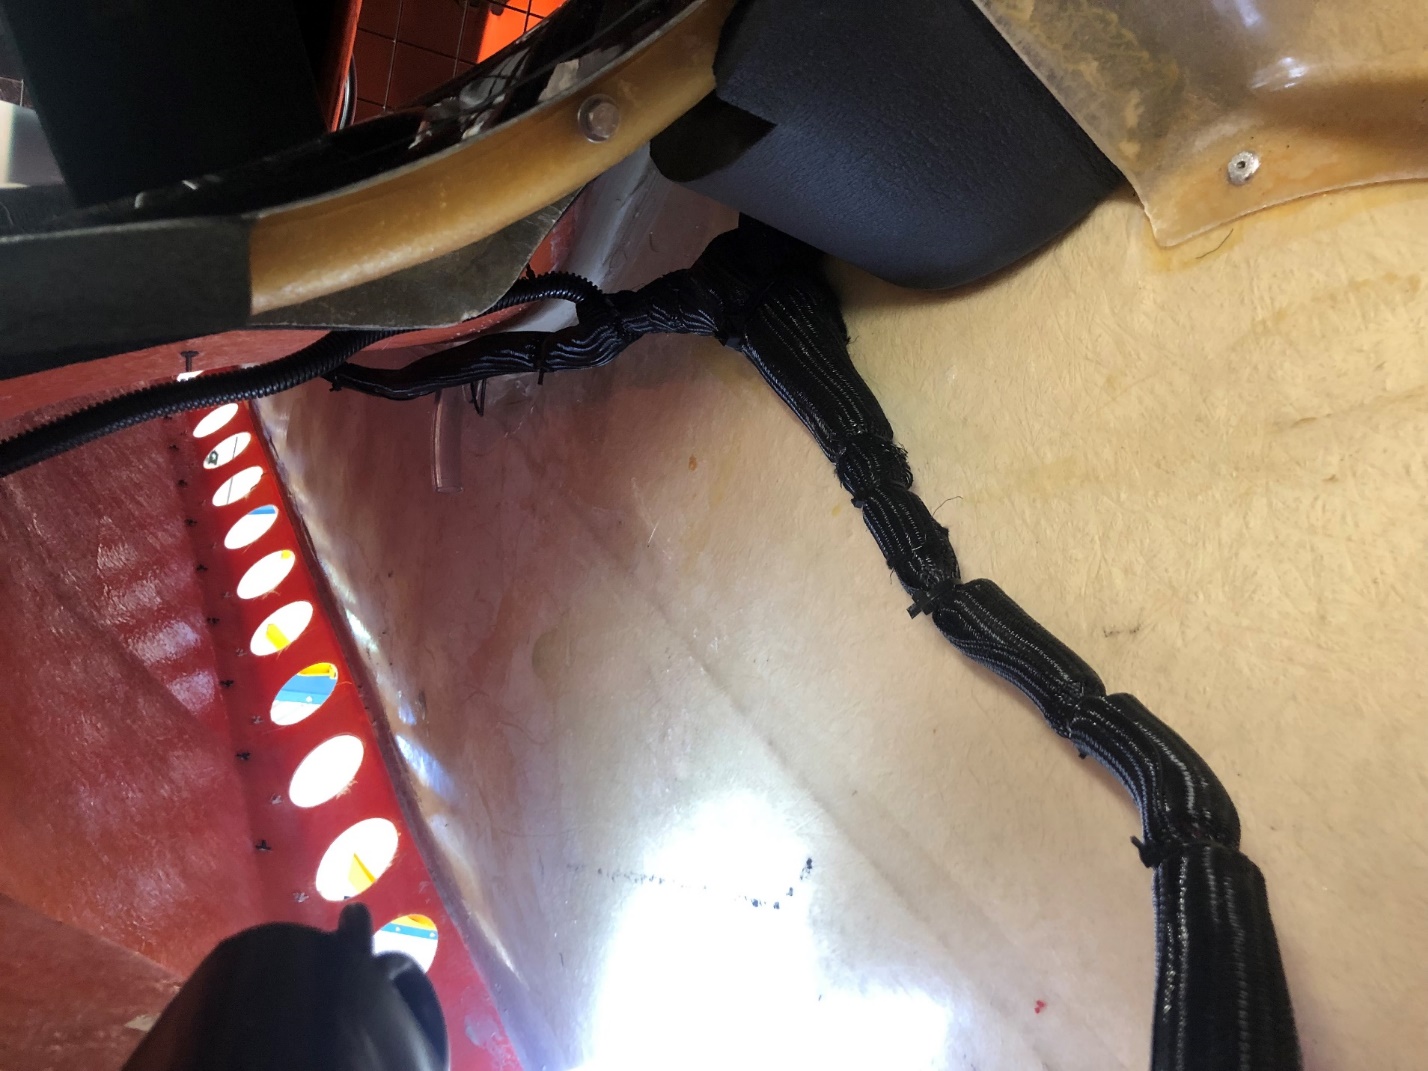
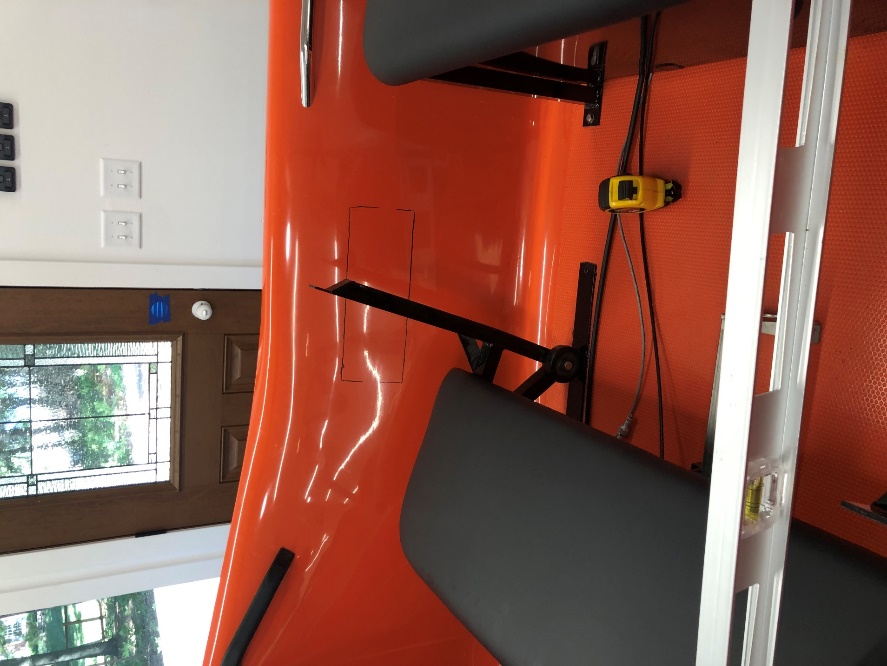
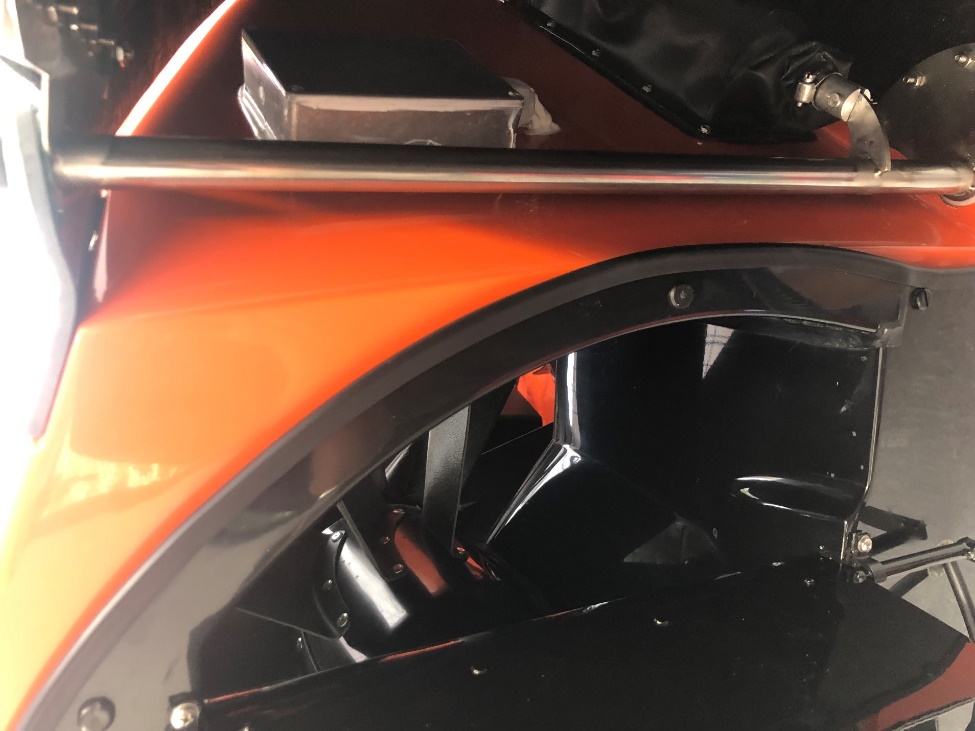
This is where the hole needed to be drilled for the helm cables to be passed through. Mine came will all cables connected to the Auxiliary plate and engine. So I disconnected the cables (and took both pictures and used tape marking to properly reconnect them after running through the side of the craft)
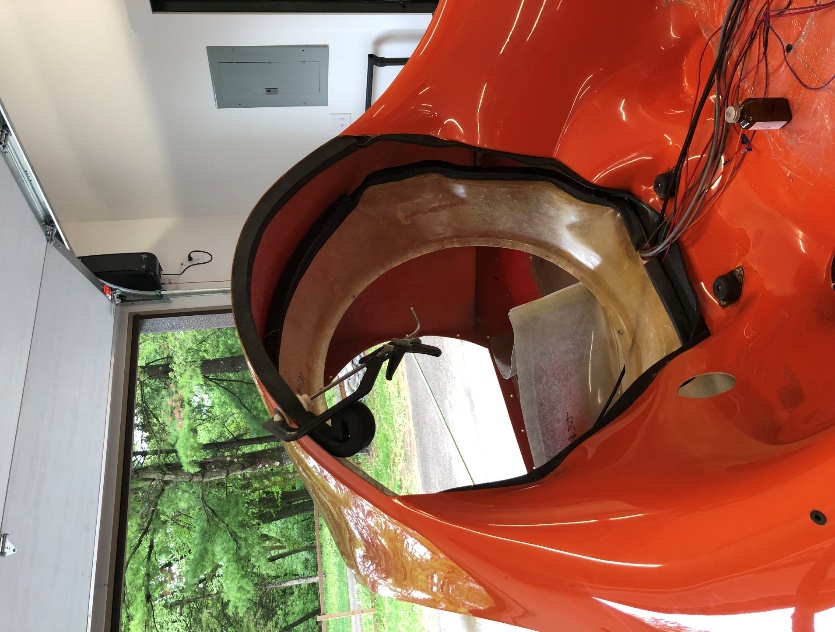
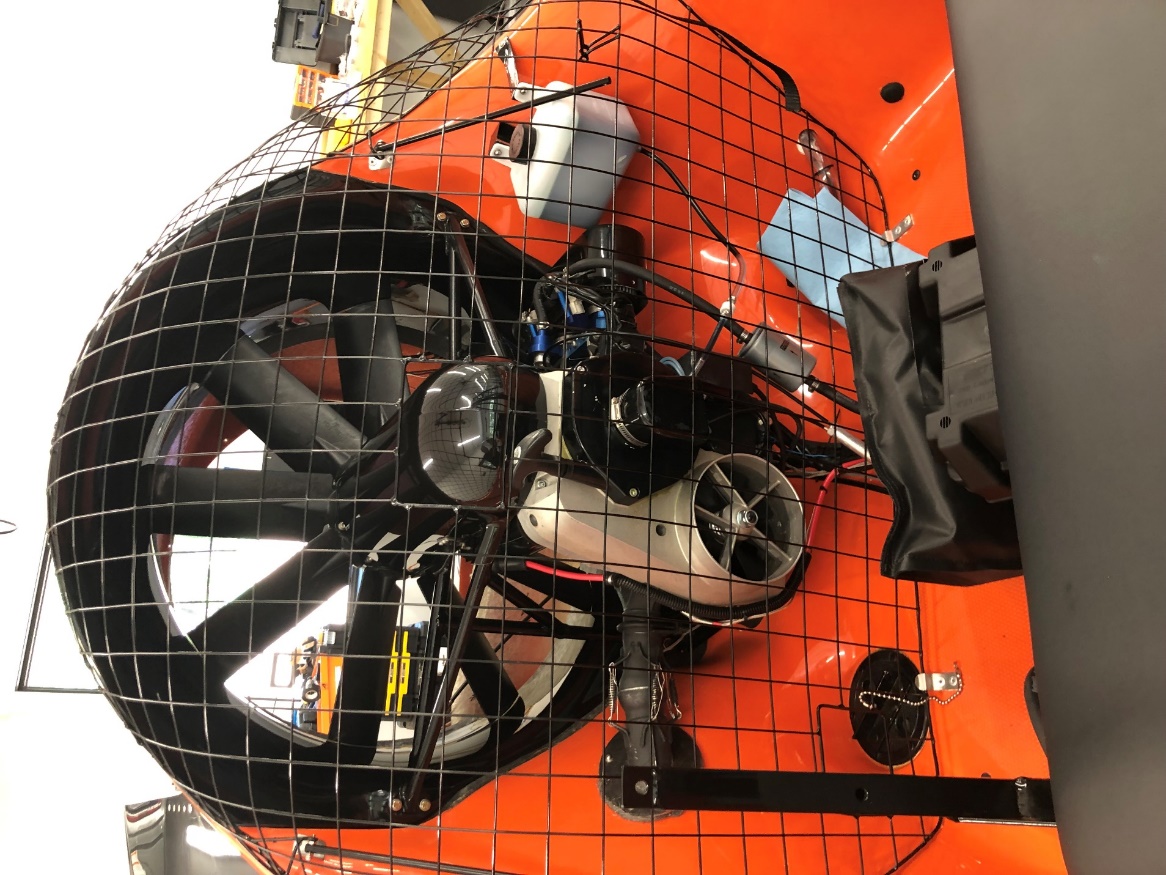
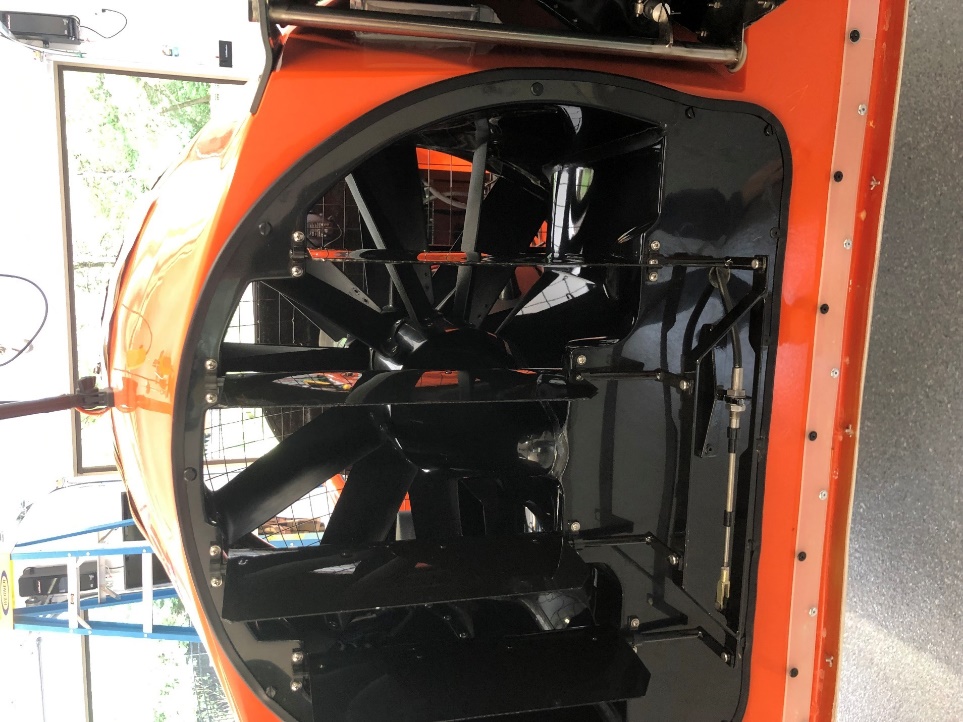
The next several pictures show how I placed the foam in the bell housing. I don’t think mine is even close to perfect but the idea seems to be to create a soft non vibrating environment of which I think I did accomplish.
The picture above shows the Collar installed. This required a lot of sanding to the collar. It all seemed to fit pretty well until it came time to bolt everything together at that point it became necessary to sand primarily the top of the collar quite a bit to get it to fully seat with the bell.
NOTE: I was also surprised to find that although I thought I had the bell properly shimmed into the duct once I tightened the collar to the housing the bell sat down another almost ½ inch lower than the duct which resulted in removing the engine again (despite I swore I would never remove it again) to add as many shims as I could to keep the bell housing lined up with the top of the duct. This is when the bolt that holds the engine to the mounts seemed to be shorter than I would have preferred.
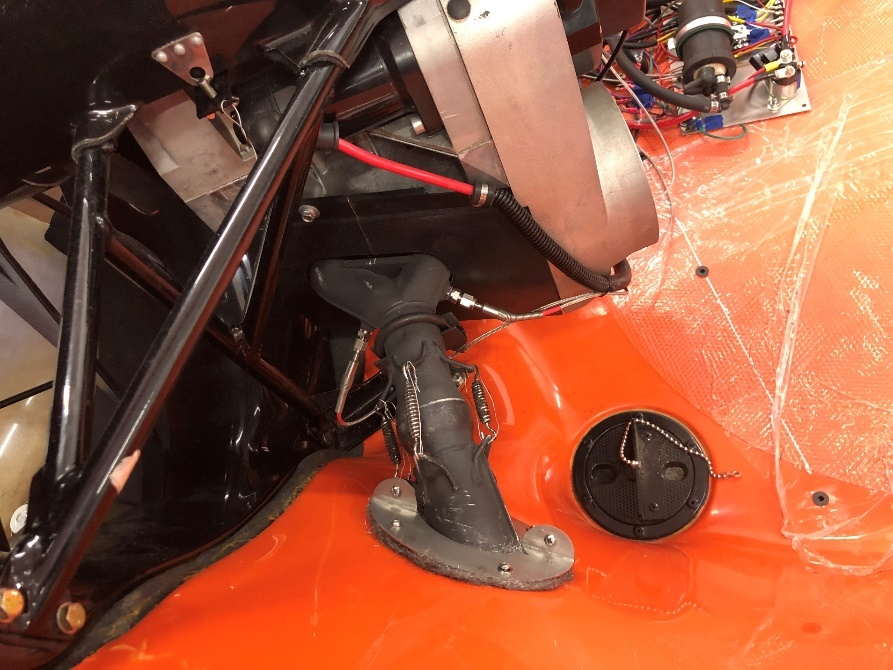
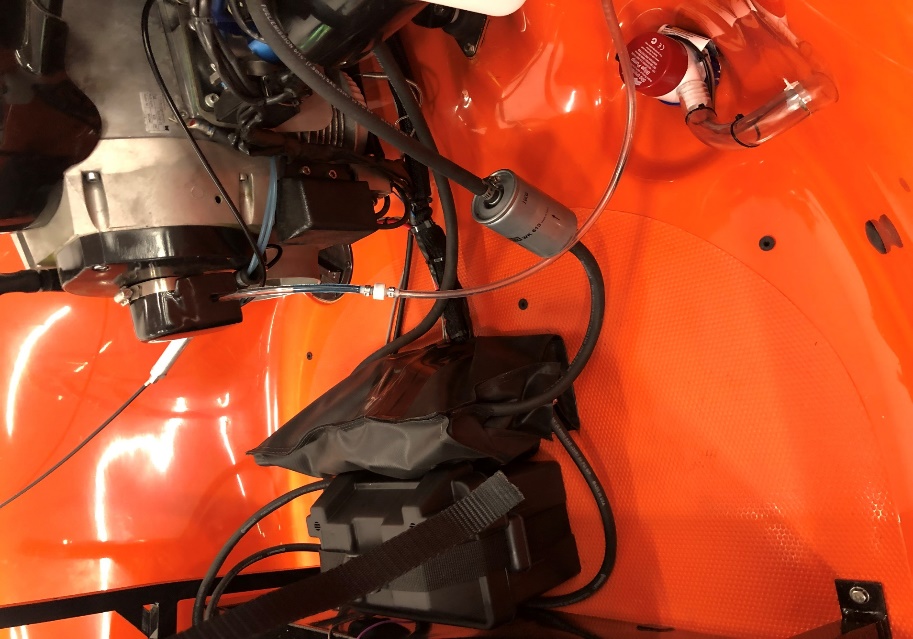
Exhaust installation went pretty smoothly. I did need to sand the bottom of the hole about ¾ of an inch further to allow the pipe to pass without laying against the fiberglass.
The following are pics of Reverse Bucket Installation
When mounting the actuators make sure to leave enough room for the water proof cover I had to redo mine because I mounted it a bit too low at first.
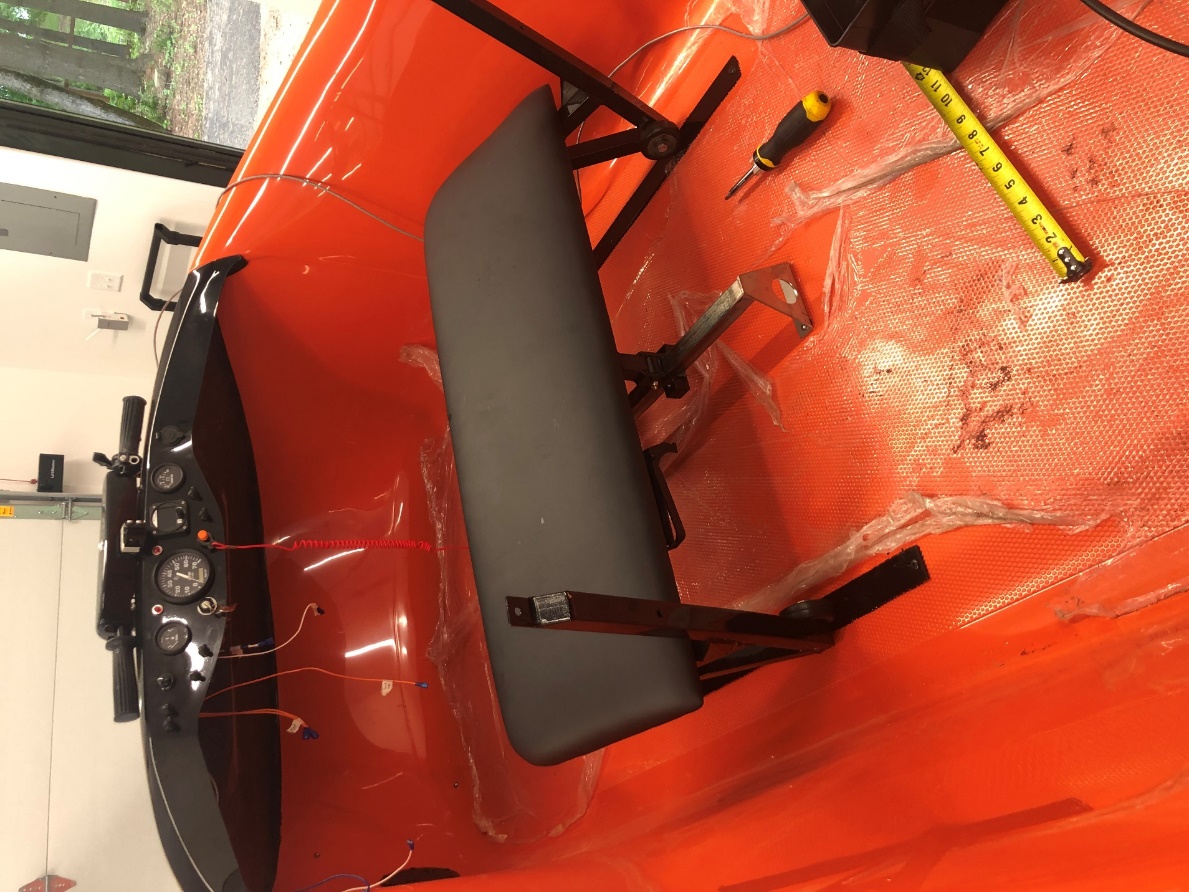
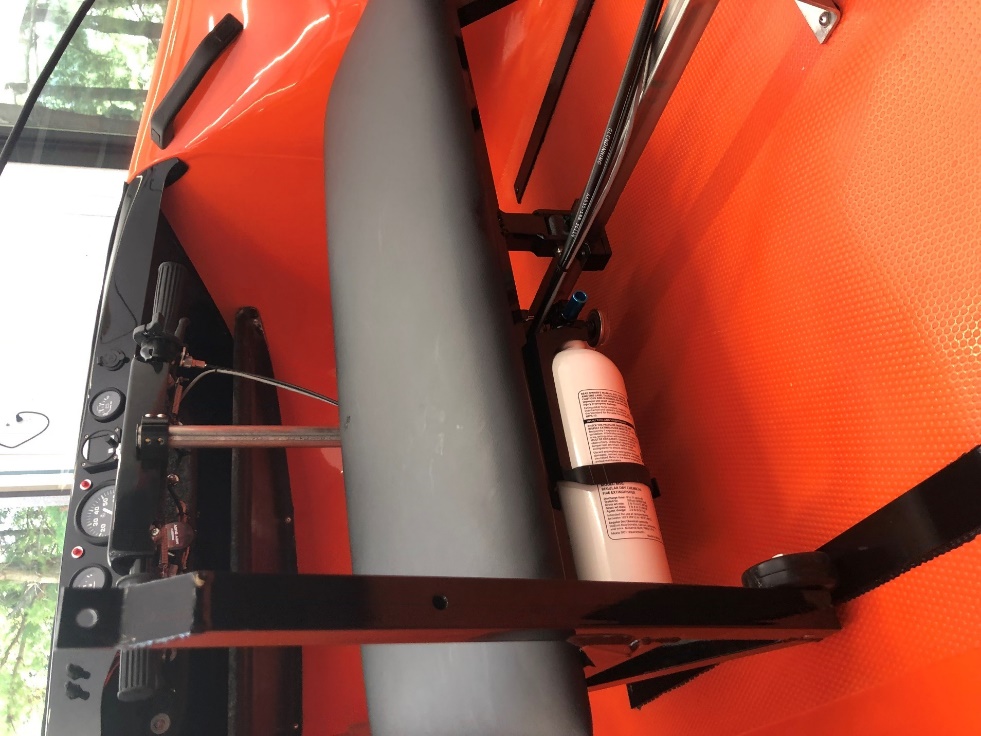
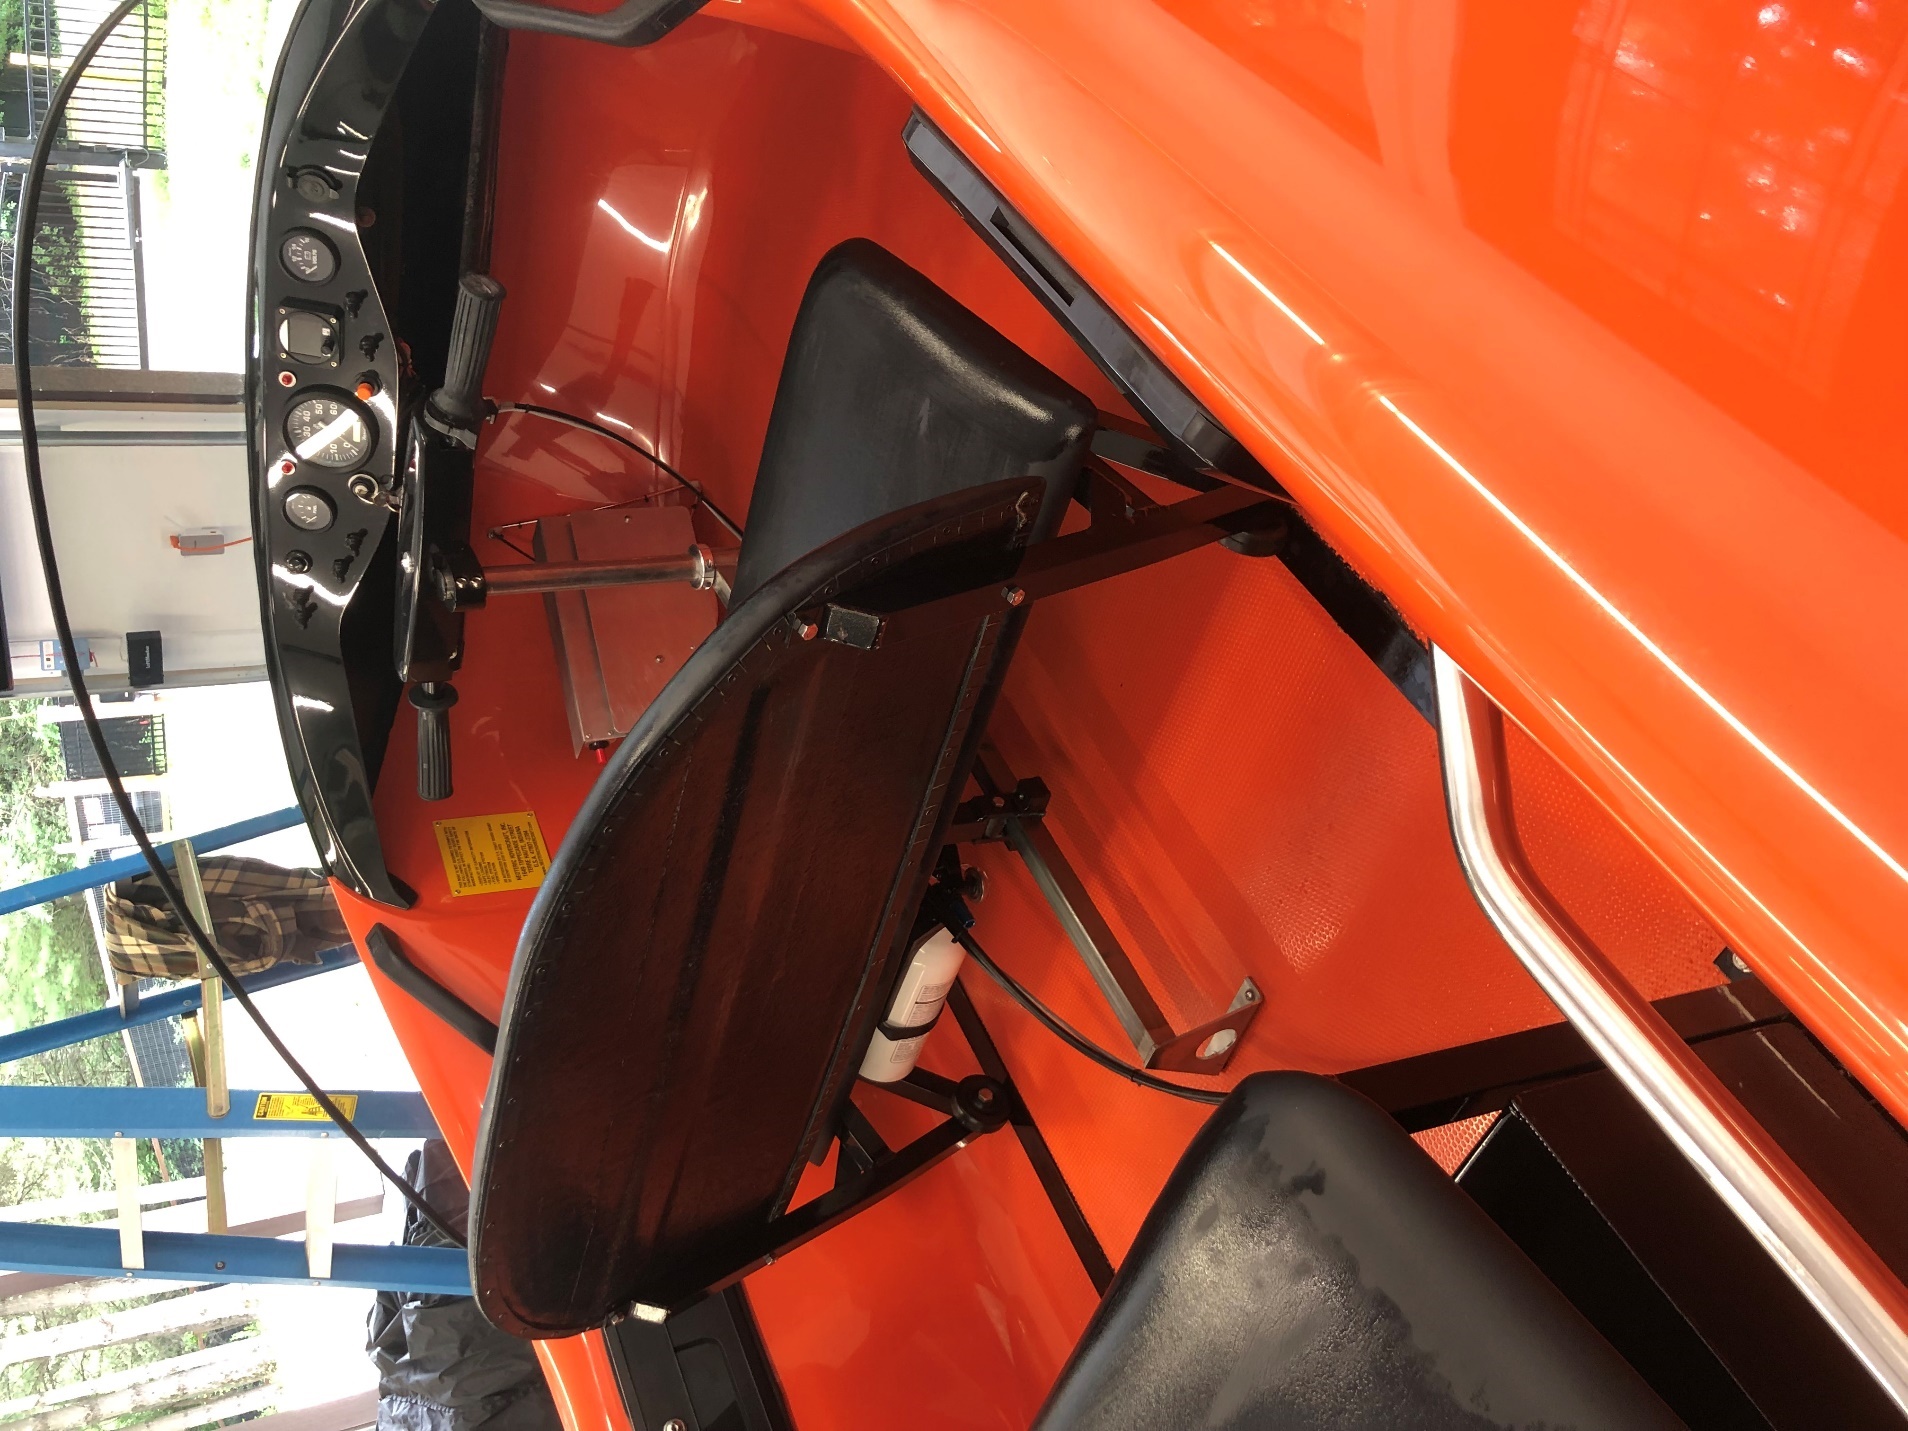
Seat Installation
Here I will offer some advice that I didn’t think of (unfortunately) before installing the forward seat make sure you install your glove holder, heater, anything you need to install in the bow section because once the seat is installed it’s a major discomfort working up there again.
If you look at my measurements the 2 black rails should have gone toward the rear 1 more inch to be exactly correct. The front seat mounts with the well nuts and the rear (holding the gas tank) mounts through the hull.
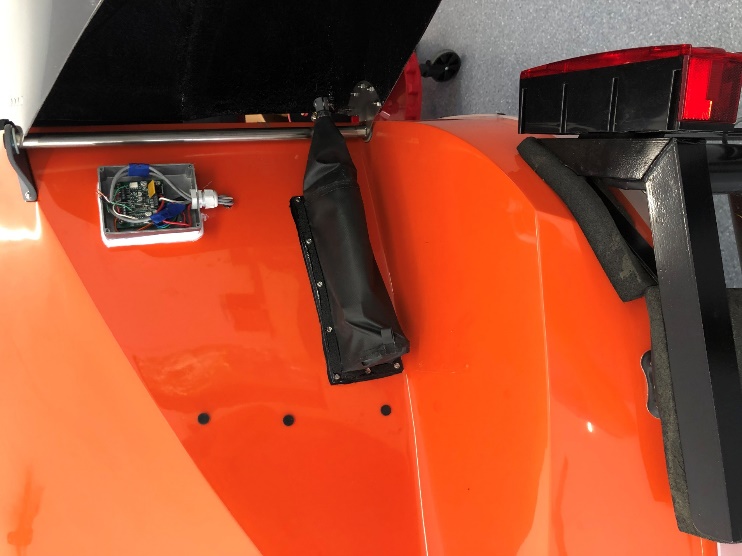
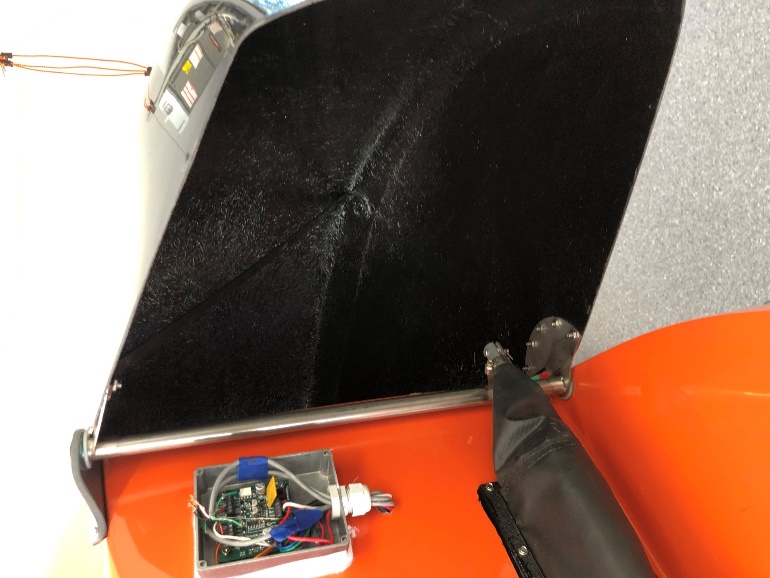
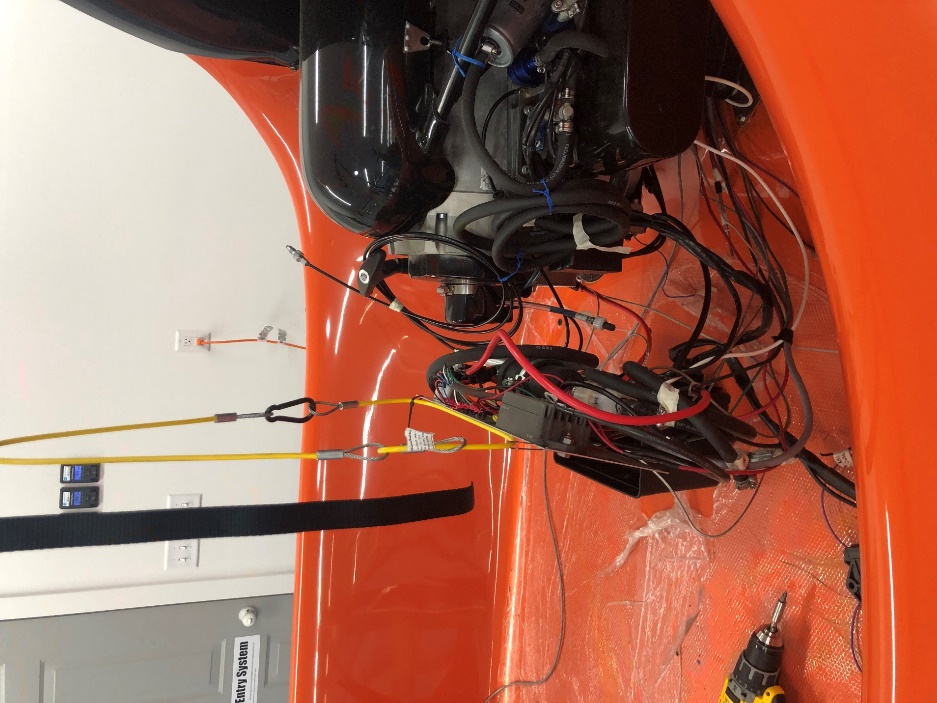
Just a Tip: I found hanging the Aux Plate to be a game changer at this point. Easy to move and keep out of the way.
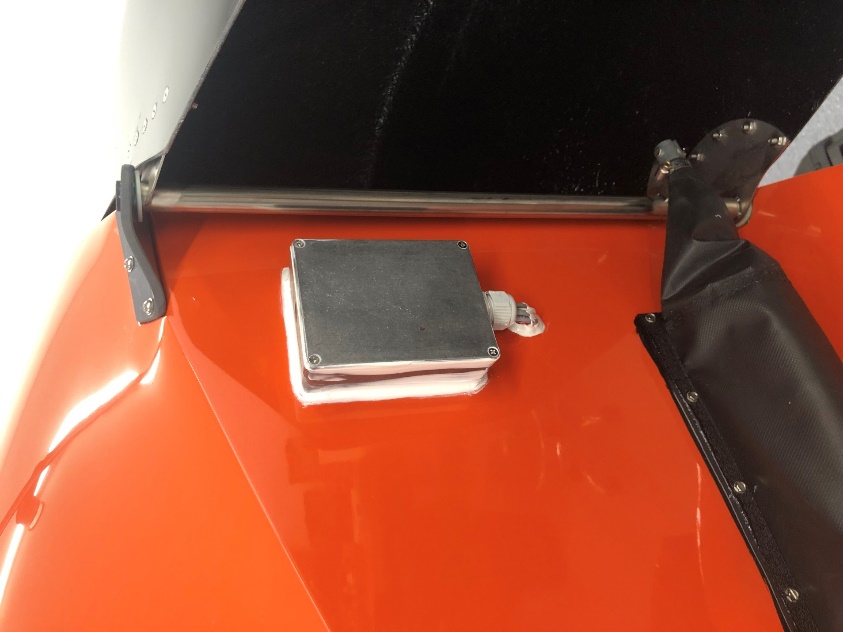
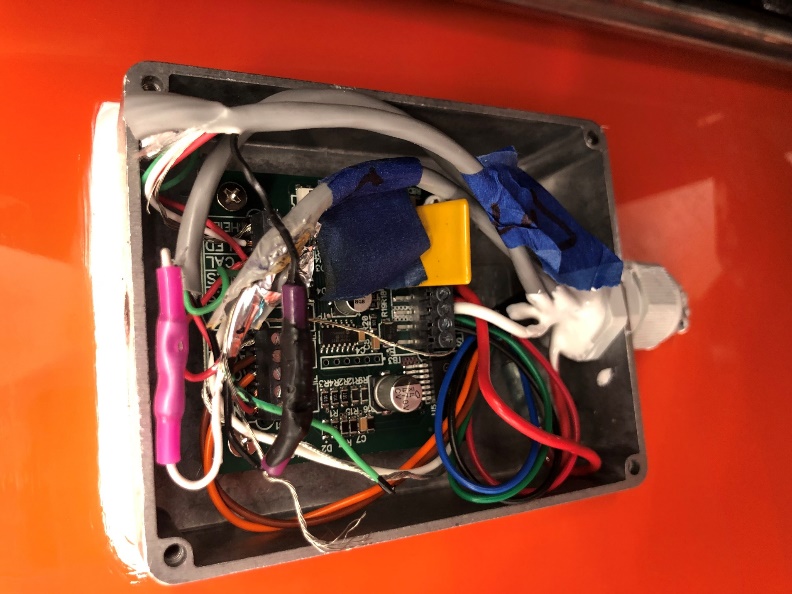
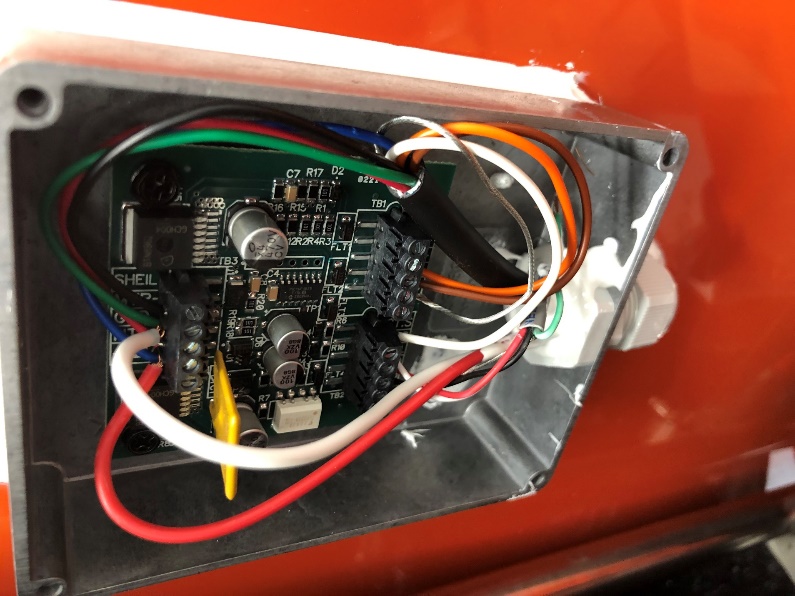
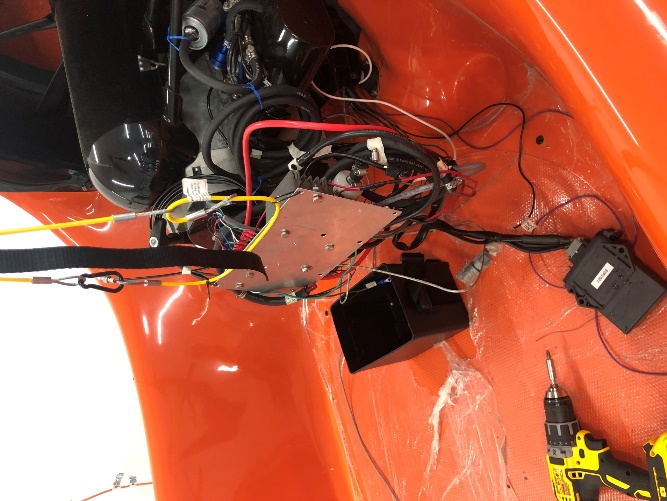
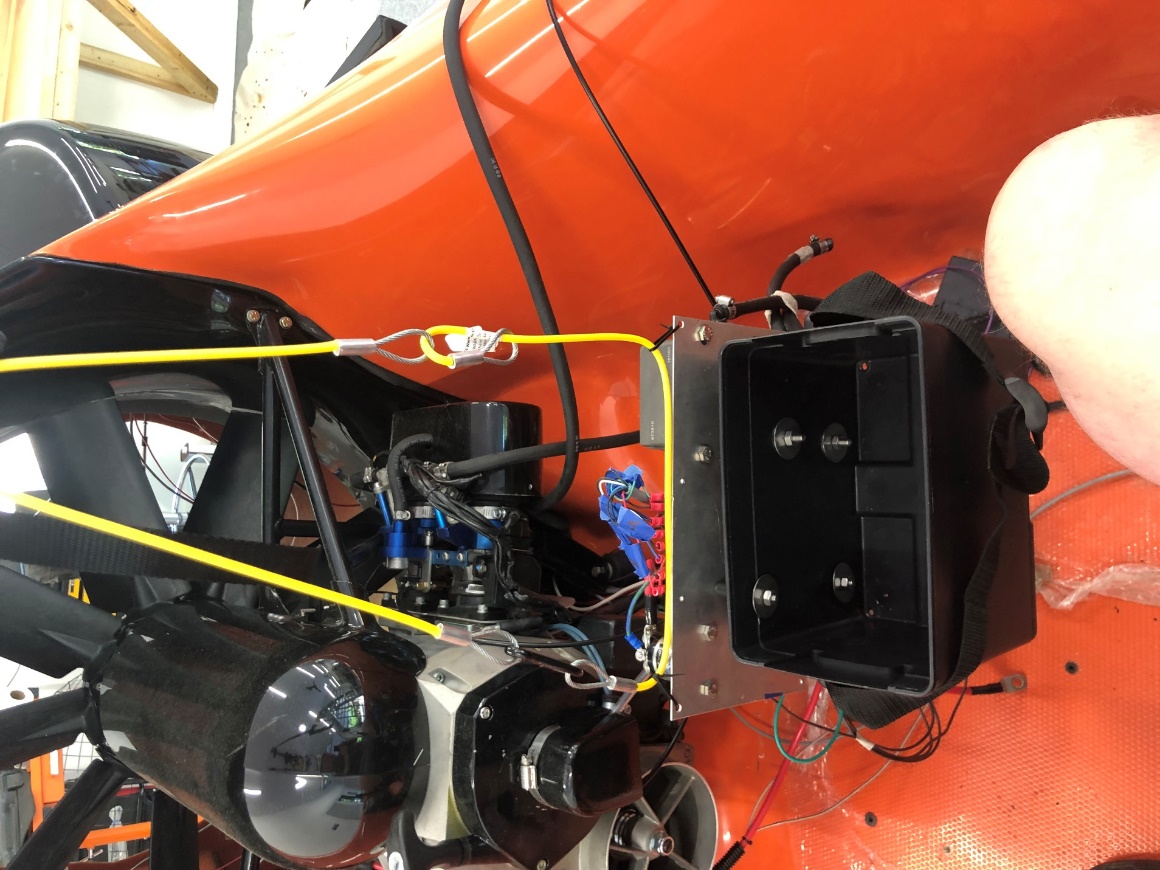
Auxiliary plate install
Note: Very important to install the water cover BEFORE mounting to the battery box (As you can see here I did not. I tried to cut and tape the cover but has resulted in purchasing a new cover which I have yet to take all apart and reinstall).
Also much easier if you measure and cut the bolts before install and Loctite.
Note about installing the Bilge Pump: Make sure the hole for the drain is a few inches above the floor or you will do what I first did which was drill into the floatation foam in the hull and not come out in the air cavity.
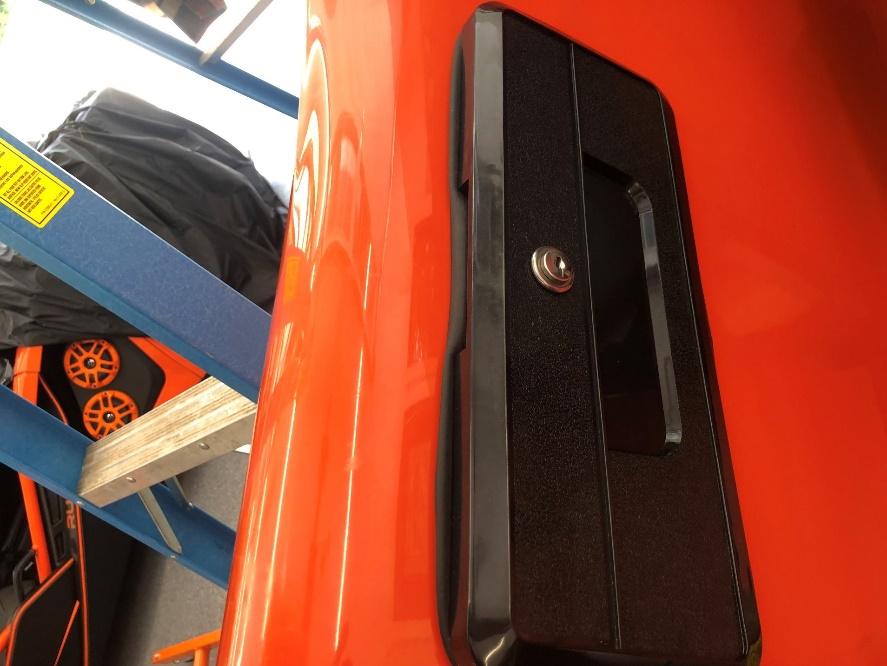
Tip on installing storage boxes: Despite the multiple attempts of measuring and drawing it wasn’t until I cut out a piece of cardboard and taped it to the side to really get what I feel is the best placement of the two storage boxes.
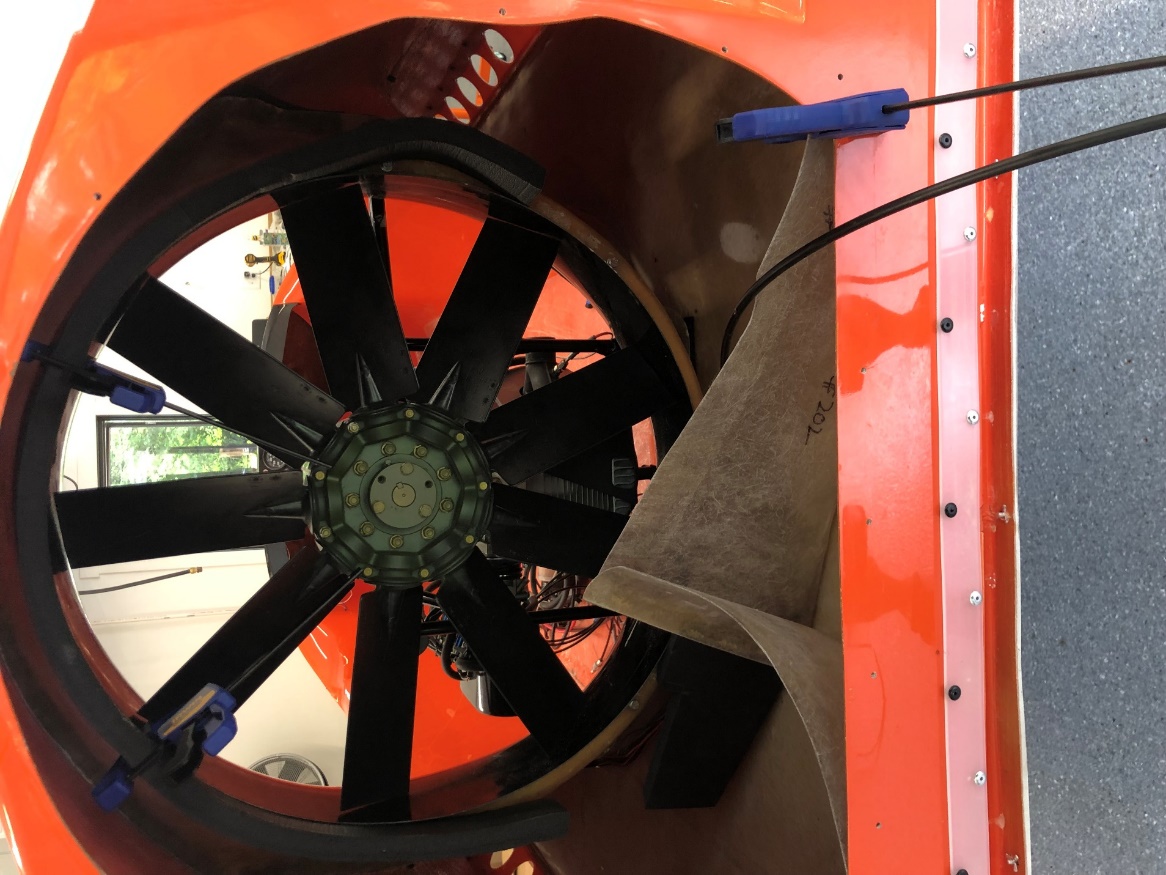
I’m not sure the best way to mount the mesh But I tried measuring it out from the bottom and going upward and I just couldn’t get the top latch in the correct location and ended up having to redrill and install it.
If I were to do it again I would try to start from the top of the Bell and it may be marked at the factory but I could not locate any markings
Installing Trust Duct
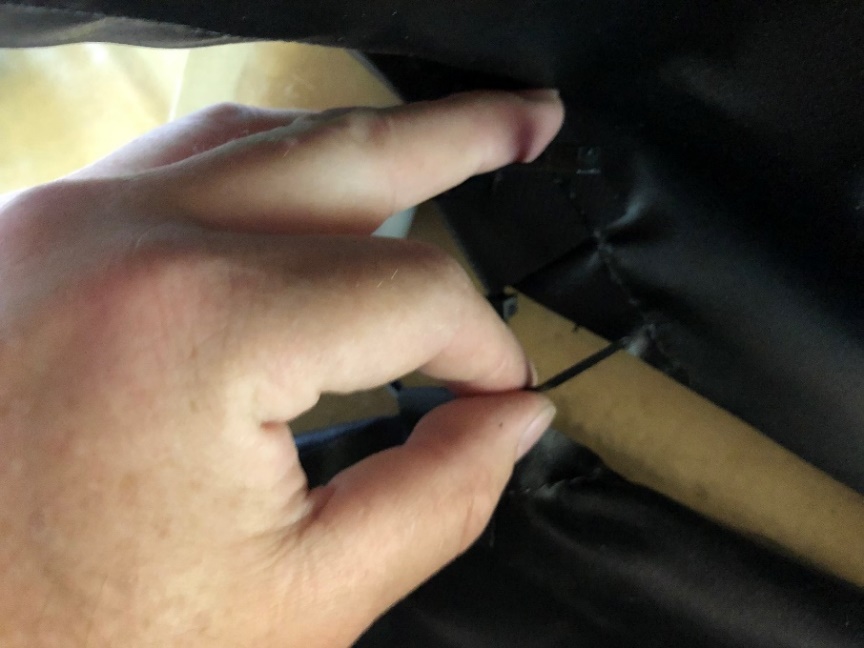
NOTE: Prior to installing the thrust duct. Install the very back skirt sections. It’s a major pain installing them once the steering of the duct is installed.
I put a rubber strip around the duct to give it a more finished look. It’s the same rubber I used around the windshield. I do like the look but its not the best idea as it creates a small gap making it more difficult to secure the trust duct. Ultimately I had to replace several of the plastic screws with nylon rivets in order to get a secure seal.
Picture of Fire Extinguisher Install
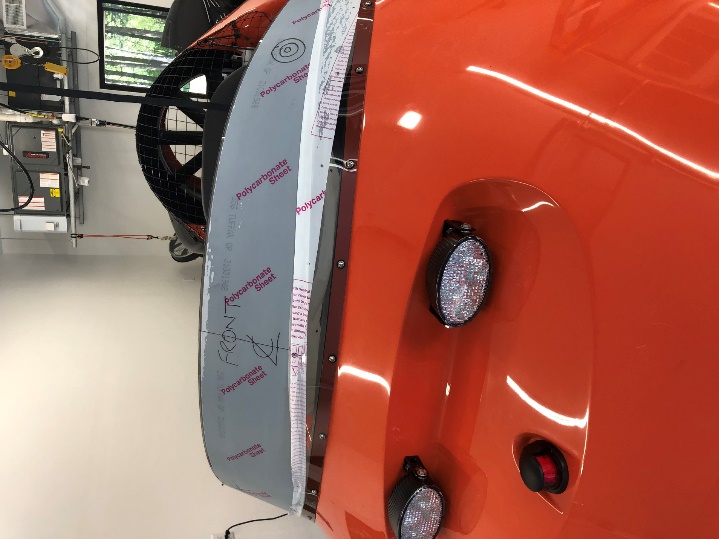
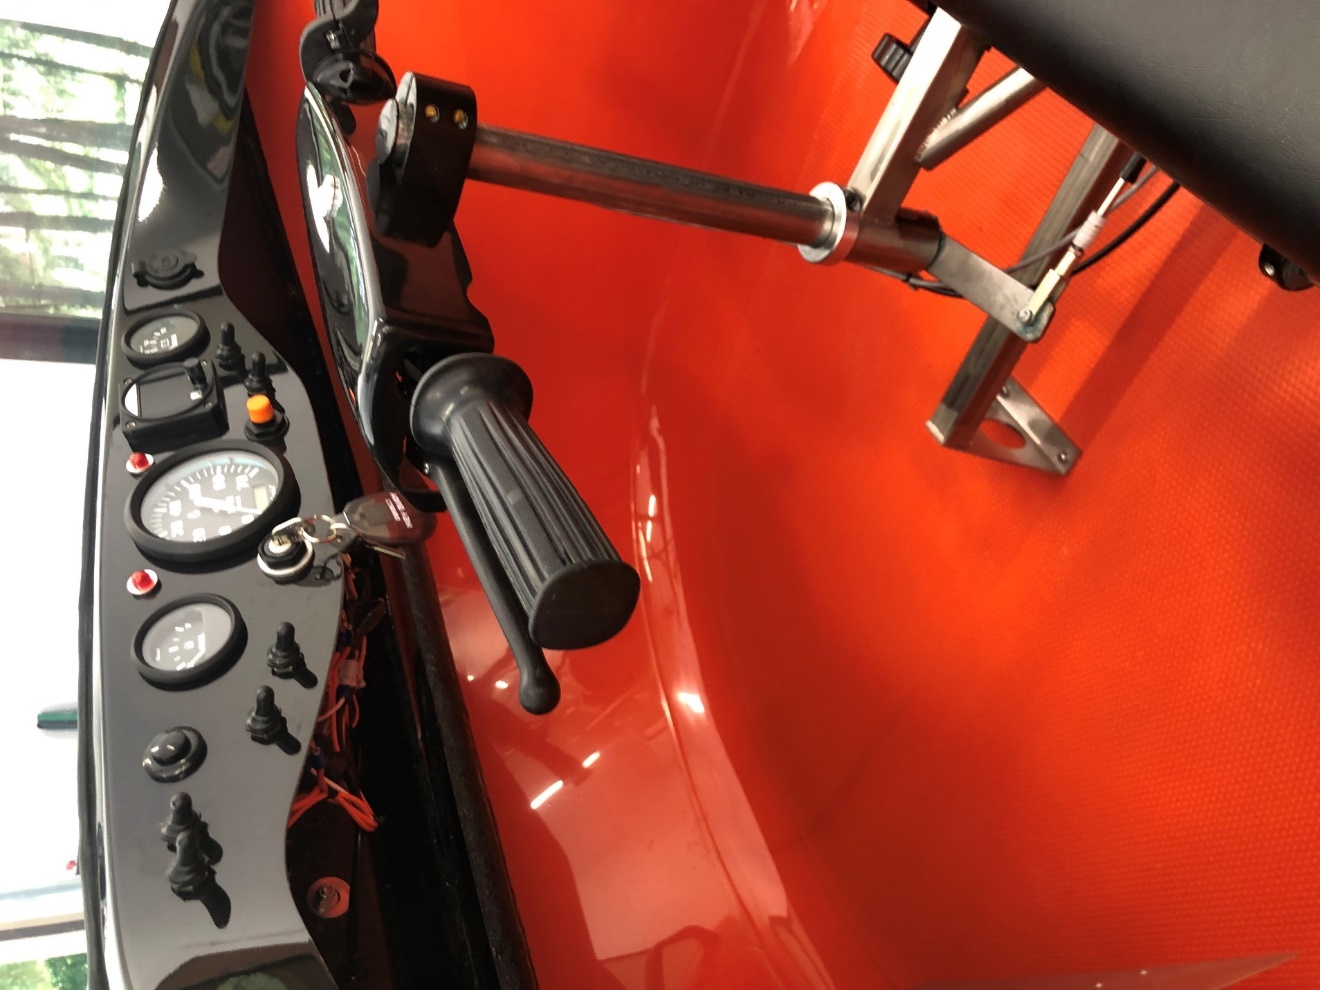
Front Steering Picture